AV Production Choices That Make Leadership Town Halls More Engaging

Chief Executive Officer
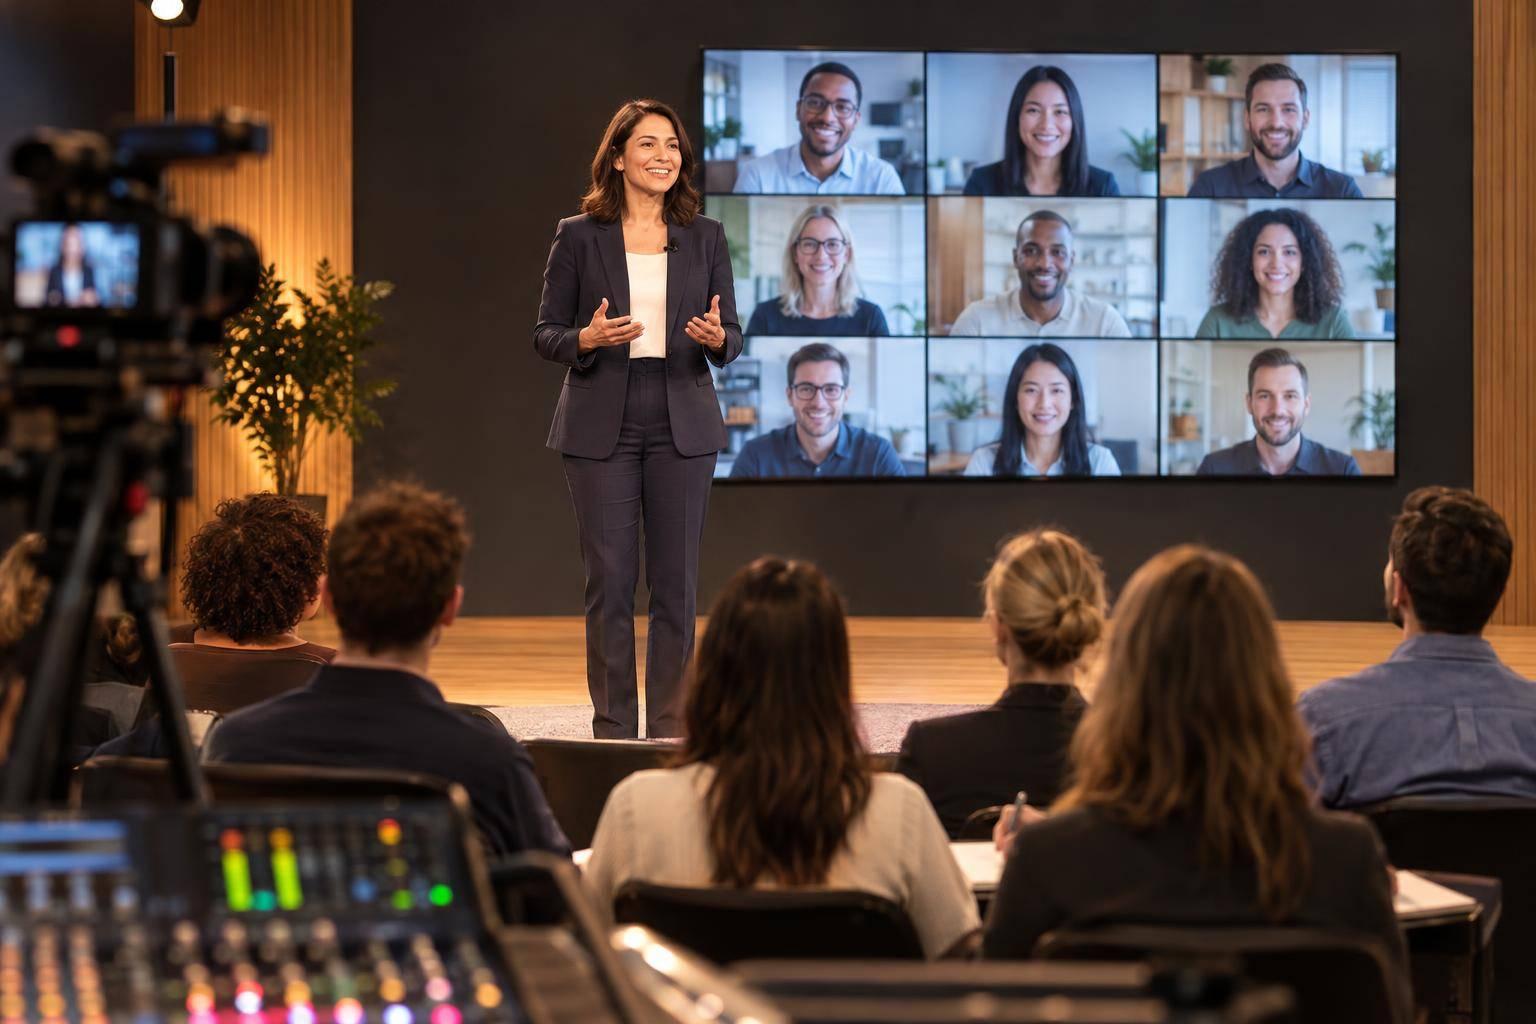
I plan leadership town halls so employees can hear, see, and ask questions - whether they’re in the room or online. I start with microphone placement, slides sent directly to the stream, and a rehearsal from the remote viewer’s seat. For speech clarity, I use an STI score of 0.60 or higher as a target.
Here’s what I check:
- Room and access: Seating, sightlines, attendance, captions, and ways for both audiences to ask questions.
- Audio: Presenter microphones, separate room and stream mixes, and remote guests’ return audio.
- Screens and slides: Display size, readable text, and space for captions. I start body text at 24–28 points, then test it from the back row.
- Lighting and cameras: Clear faces, speaker handoffs, and coverage of audience questions.
- Rehearsal and ownership: A timed show plan, tested backups, named team leads, and a post-event review.
My final check is simple: <u>test what employees receive</u>, not just what the production desk sees. Every production choice should help people follow the message and join the conversation.

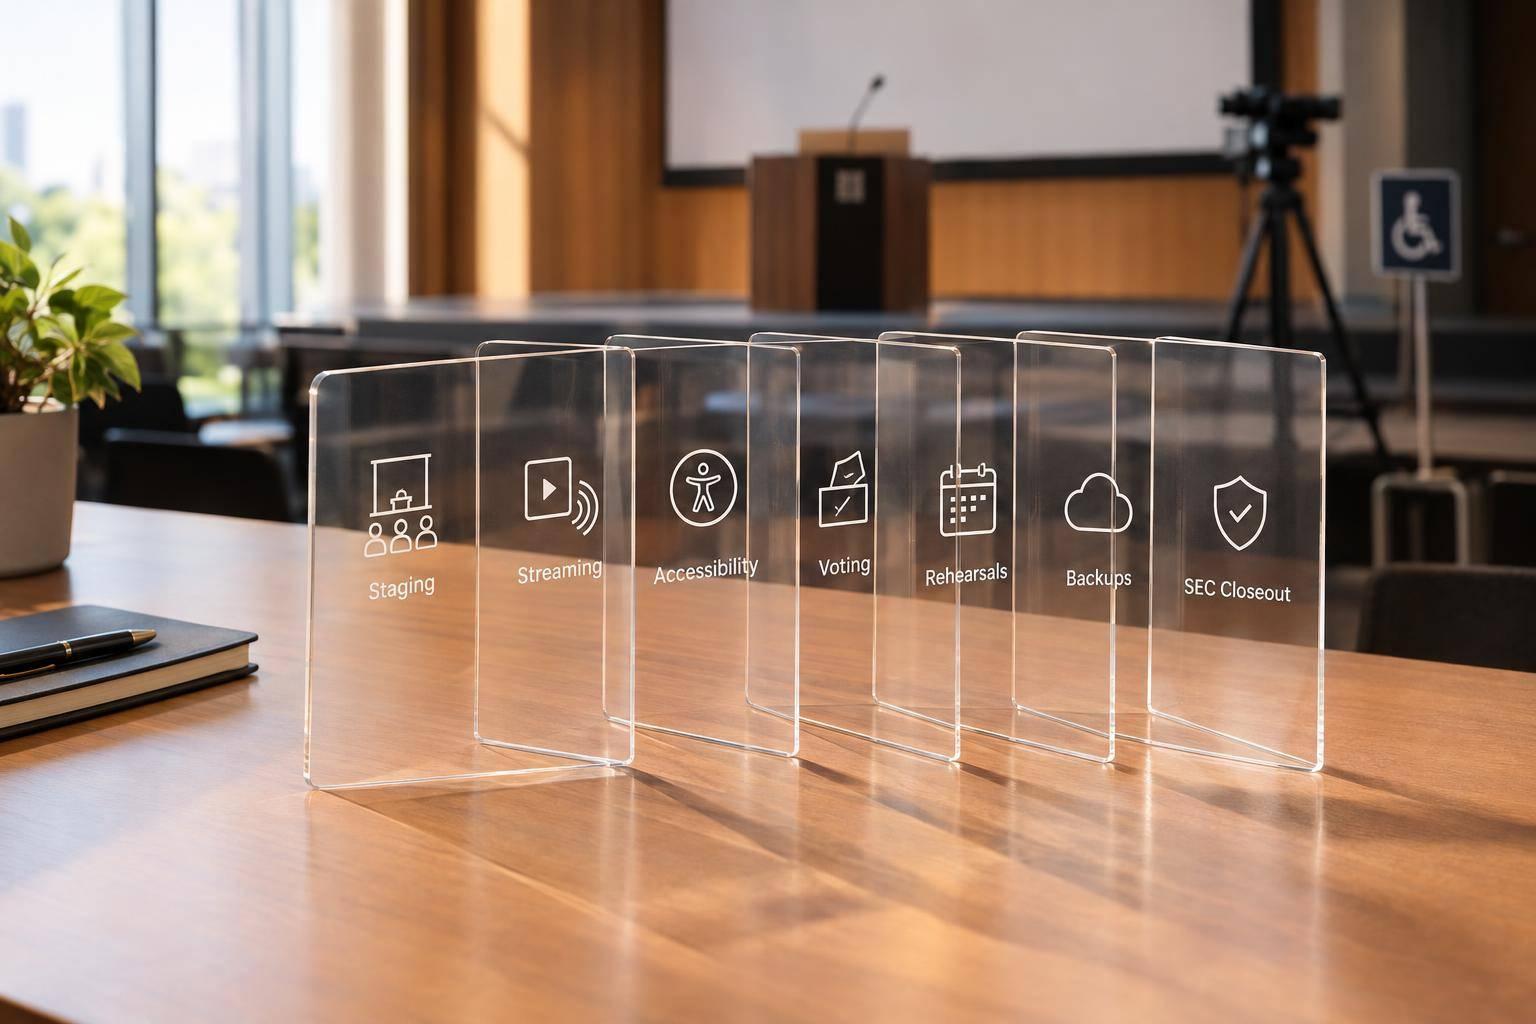
Leadership Town Hall AV Planning Workflow
Audio: Make Speech Clear for Everyone
Once you’ve mapped the room, focus on clear speech - not just louder sound. Use STI as your benchmark: a score of 0.60 or higher generally indicates good speech intelligibility.
Choose Microphones for Each Presenter
Match the microphone to how each presenter moves, then test it with their onstage clothing.
| Microphone type | Suitable uses | Main benefits | Primary limitations |
|---|---|---|---|
| Lavalier | Executives presenting from a stage or defined area | Hands-free and visually unobtrusive | Clothing noise; uneven levels when the speaker turns; greater sensitivity to placement |
| Headset | Mobile presenters, facilitators, or speakers who turn frequently | Stable mouth-to-microphone distance and consistent level | More visible and less comfortable; needs careful fitting |
| Handheld | Moderators, interviews, and audience questions | Stable mouth-to-mic distance, easy muting, and good rejection when used correctly | Takes up one hand and can produce handling noise |
| Gooseneck | Lecterns, fixed tables, and seated panelists | Predictable position and simple operation | Poor fit for moving speakers; can pick up table or paper noise |
During soundcheck, have presenters turn, gesture, and handle notes while the engineer checks levels and clothing noise. Keep lavalier cables away from jewelry and loose fabric. Fit headset capsules beside the mouth, outside the direct breath path.
Doubling the mouth-to-microphone distance reduces direct voice level by approximately 6 dB. Fix placement before increasing gain. Label wireless channels, coordinate frequencies, and keep charged batteries and a ready spare microphone nearby.
Make Audience Questions Clear in the Room and Online
People in the room and watching the stream need to hear each question. Keep the handheld close to the questioner’s mouth and release it on the moderator’s cue. Give remote contributors an audio return that excludes their own voice so they don’t hear themselves on a delay.
Use Separate Room and Broadcast Audio Mixes
Build one mix for the room and another for the stream and recording. Check both mixes on in-room speakers and consumer devices. Record a rehearsal to catch clipping, dropouts, and sudden level changes.
sbb-itb-ae35a94
Visuals: Make Leadership Messages Easy to Read
Once people can hear the message, help them read it. Clear visuals come down to three choices: the right display, a clean slide layout, and a direct feed for remote viewers.
Choose Displays for the Room and Viewing Distance
Plan for the farthest viewer, then check whether the smallest labels are readable from the back row. Measure the distance to the screen. Check side-angle views, obstructions, daylight, and how much detail the content contains. A common planning guideline puts the maximum viewing distance at about six times the screen height for general presentations and four times for data-heavy content.
| Display type | Room suitability | Ambient-light tolerance | Viewing distance | Setup constraints and recommendation |
|---|---|---|---|---|
| Projection | Large rooms that need a very large image | Low to moderate; works better with controlled lighting | Image must be large enough for the back row | Best for large rooms where lighting can be controlled; needs screen space and often blackout. |
| LCD displays | Small and medium rooms | Moderate to high | Best for short-to-medium distances | Sharp text and simple installation for small to medium rooms. |
| LED wall | Large rooms and bright venues | High | Works for medium-to-long distances with the right pixel pitch | Provides an image without visible panel borders; needs support, power, processing, and pixel-pitch planning. |
For LED, choose pixel pitch - the distance between pixels - based on the nearest viewer, content detail, and camera use, rather than wall size alone. Test the actual slides before approving the display.
Keep Key Messages Visible in Screen Layouts
With the display selected, lay out slides so people can read them at every distance.
Use a consistent 16:9 canvas when the room and stream share the same layout. Start with titles around 40–44 points and body text of at least 24–28 points. Test chart labels separately. Use strong contrast, short headlines, and direct labels. Don’t rely on color alone to explain results.
Keep the main takeaway in a fixed headline area, with supporting charts still visible. Leave room for captions, lower-thirds, and speaker windows. Check the webcast layout to make sure none of these cover totals, legends, or labels.
Place confidence monitors near the audience sightline. That lets presenters follow slides and cues without turning away from the room.
Send Slides Directly to Remote Viewers
Remote employees should see the slide itself, not a camera’s view of the room screen. Route a direct presentation feed to the stream to avoid blur, glare, moiré patterns, keystone distortion, and reduced contrast.
Confirm the output resolution and aspect ratio. Then test small text, chart labels, financial figures, and video playback in the live remote interface. Rehearse speaker-only, slides-only, and split-screen views, including video playback, without showing presenter notes, desktops, or loading screens.
Lighting and cameras also shape how well remote employees can see speakers and audience exchanges.
Lighting and Cameras: Show Speakers and Audience Exchanges
Once audio and slides are handled, lighting and cameras help the town hall feel clear and connected. The goal: make speakers and audience questions easy to follow.
Light Speakers Without Washing Out Screens
Place a soft key light 30–45 degrees off center, slightly above eye level and angled down. Start with 300–500 lux on faces, then check how they look on camera. Add a weaker fill light only if the other side of the face looks too dark.
Choose fixtures with consistent color temperature; 4,000–5,000 K is a useful starting range. At each speaking position, check exposure, reflections in glasses, shine on glossy lecterns, and glare. Balance the lighting first, then set and lock camera white balance and exposure.
Keep lights aimed away from screens and limit light spill. Test daylight at the event’s scheduled time, and keep stands and cables clear of accessible routes and exits.
With faces clearly lit, plan shots around speaker handoffs and audience questions.
Plan Camera Coverage for Speakers and Questions
Plan coverage around what employees need to see - not just how many cameras you have. A practical starting setup includes a primary executive shot, a second angle or panel shot, a room-wide view, and a way to show audience questioners. Together, these views cover speakers and audience exchanges.
| Shot | Purpose | Camera position | When to use it |
|---|---|---|---|
| Primary executive medium shot | Clearly shows the leader’s face, upper body, and gestures | At eye level, near the centerline of the main presentation position | Prepared remarks and important announcements |
| Alternate speaker or panel shot | Offers a clean cut point and shows a second presenter or panel interaction | Slightly to the side, near eye level, and outside audience sightlines | When a panelist speaks or the leader turns |
| Two-shot | Shows both participants and how they relate during an exchange | Positioned to show both faces with consistent headroom | Moderator–executive dialogue or a brief joint response |
| Room-wide or stage-wide shot | Establishes the location, shows multiple speakers, and keeps the context visible | At the rear or side of the room, high enough to avoid blocked views | Openings, transitions, and stage movement |
| Audience-question shot | Shows the employee asking a question so remote viewers can follow the exchange | In a side aisle, at the rear, or in a controlled roaming position aimed toward the questioner | Live questions, subject to privacy and consent policies |
Time Camera Switches With Speaker Changes
Frame speakers with consistent headroom and natural sightlines, and leave room for gestures. Use a two-shot during an exchange, then switch to a single shot when one person gives a detailed answer. Avoid cuts between views with noticeably different color, height, or perspective.
Record microphone assignments, lighting cues, and shot changes in the cue sheet. Preview the next shot before each handoff. Switch only when the speaker is framed, lit, and live on mic. If filming the employee isn’t allowed, stay on the moderator or executive and have the question repeated into a microphone.
Conclusion: Rehearse and Check the Full Production
Test Signal Paths and Backup Plans
Once audio, visuals, lighting, and camera choices are set, rehearse the full signal chain from end to end. Check that people in the room and online can hear speech clearly, read screens, see speakers, and take part in Q&A. Test captions and return audio for remote contributors, too.
Assign one owner to each fallback path so nobody has to improvise a switch during the show.
| Phase | Checklist |
|---|---|
| Full rehearsal | ☐ Run the final show order with presenters, moderators, and remote contributors. Use the final presentation files and planned switch points. Check recording playback. |
| Backup paths and ownership | ☐ Confirm primary and backup signal paths. Practice switching to the backup laptop, spare microphone, secondary internet connection, and alternate recording path. Name the operator authorized to activate each backup. |
| Pre-open checks | ☐ Check batteries, network status, livestream status and privacy settings, and recording status. |
Resolve open issues and share the approved run of show before doors open.
Coordinate Town Hall Production With Corporate Optics
Clear ownership keeps the town hall team aligned from rehearsal through post-event review. Assign a show caller to manage the cue sequence, plus named leads for audio, video, lighting, streaming, captions, and presenter liaison. Document who owns each fault and when to escalate it. When reliability matters, keep streaming duties separate from camera operation.
After the event, review watch time, drop-off points, Q&A participation, caption use, and technical incidents. Pair those results with employee feedback on what they could hear, see, and follow. Use the production log to identify specific improvements for the next town hall.
FAQs
Which AV upgrades should we prioritize on a tight budget?
Choose reliable, tested microphones so the CEO’s message comes through clearly. Position bright projection or LED screens so attendees can read the content from the farthest seats.
For hybrid events, focus on two to three quality cameras, a video switcher, an audio mixer with a dedicated livestream mix, LED lighting panels, and hardwired internet rather than Wi-Fi. Spend on a professional technical director to manage transitions - not theatrical spectacle.
How can we give remote employees equal Q&A access?
Use one shared question queue managed by a dedicated remote moderator. At the start, explain how to submit questions, whether names will appear, and how questions get priority.
The moderator checks questions for relevance and accessibility. The host alternates between in-room and remote questions, repeating each one before the speaker answers. For in-person questions, use a microphone runner or floor mic and add each question to the same digital queue.
How can we measure whether AV improves engagement?
Pair quantitative data with attendee feedback. Track peak concurrent viewers, average watch time, drop-off points, and participation in live polls and Q&A sessions. Use heat mapping to see which segments held remote attendees’ attention. For in-person feedback, use event apps or response systems.
After the event, send surveys to check message clarity and participant satisfaction. Compare the results with your goals to guide AV production choices for future events.
Related Blog Posts
- Tips For Organizing A Corporate Town Hall With Professional Production
- Leading Companies To Produce Executive Town Halls And Quarterly Business Updates
- Audio-Visual Companies Best Known For Leadership Communications In Hybrid Event Production
- The Best Hybrid Meeting AV Production Company And What They Provide For Your Next Town Hall.


Streamline your workflow, achieve more

Lorem ipsum dolor sit amet, consectetur adipiscing elit. Maecenas ac velit pellentesque, feugiat justo sed, aliquet felis.



Lorem ipsum dolor sit amet, consectetur adipiscing elit. Maecenas ac velit pellentesque, feugiat justo sed, aliquet felis.