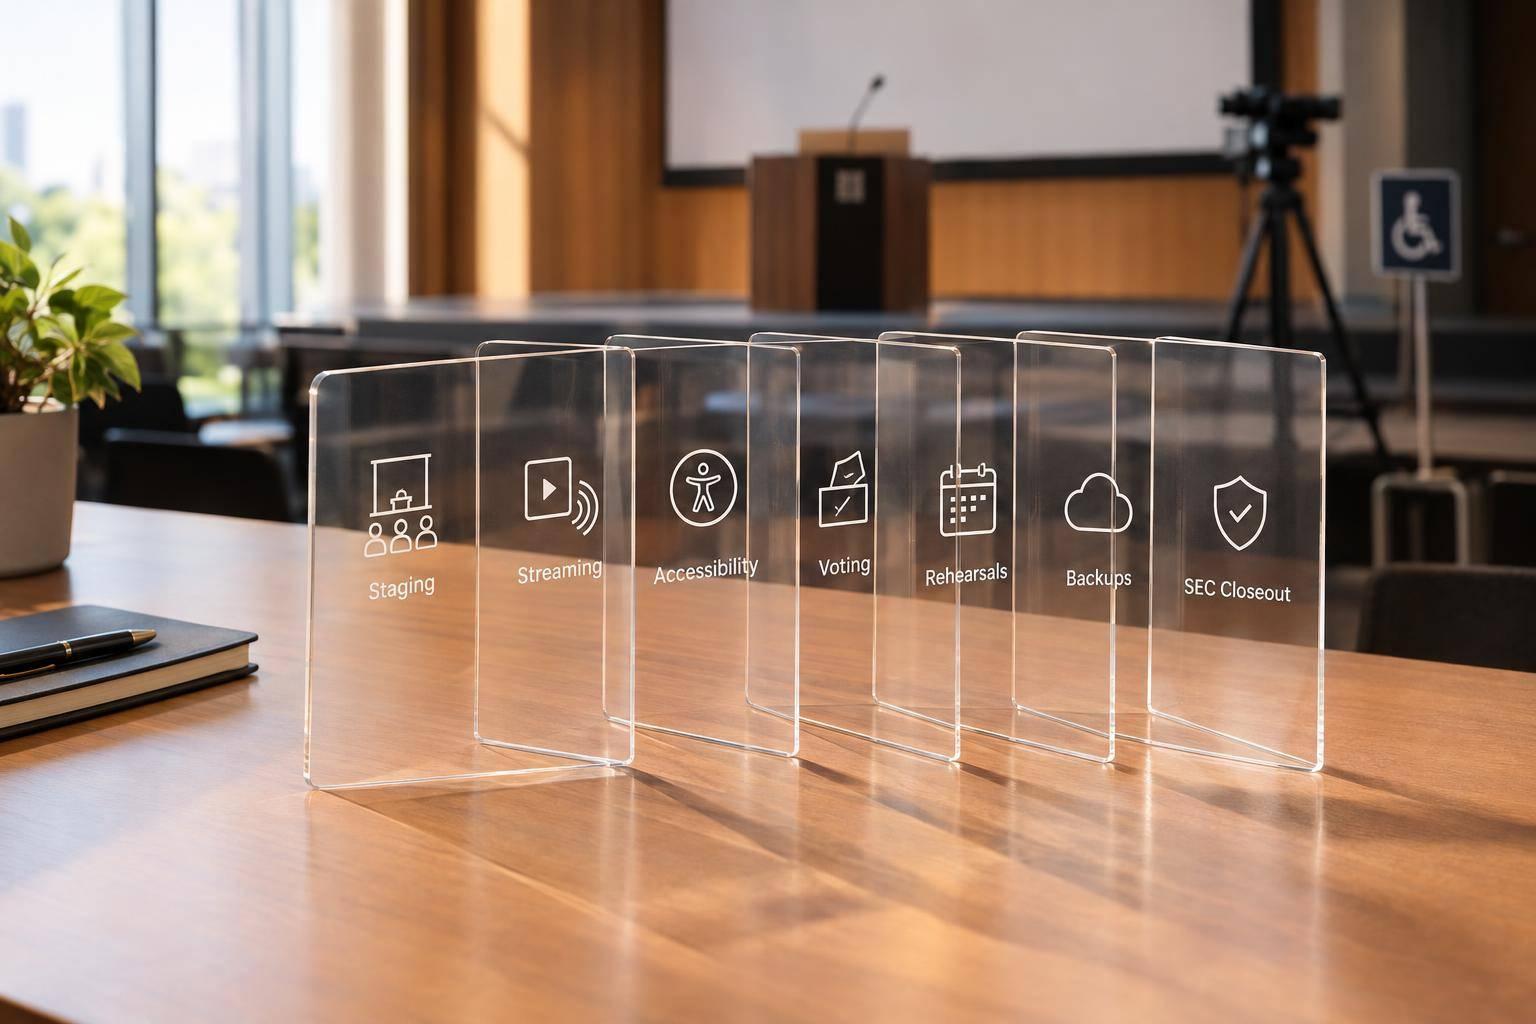
Corporate AV Services Explained: Staging, Lighting, Audio And Video.

Chief Executive Officer
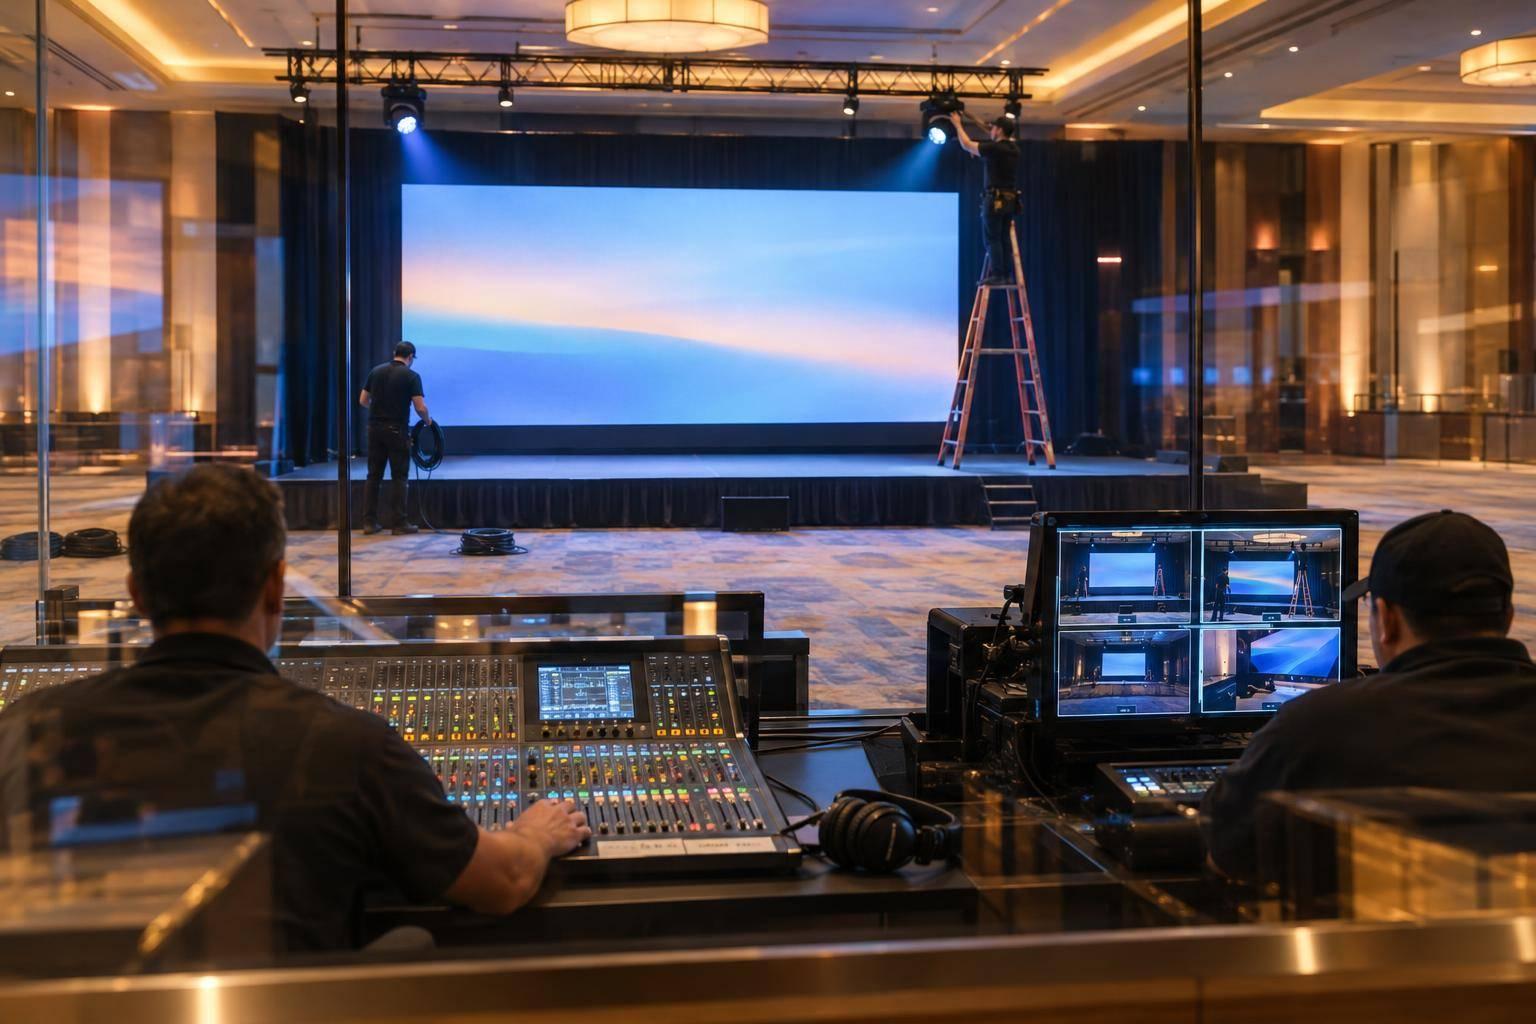
Corporate AV services cover staging, lighting, audio, and video - but renting equipment isn’t the same as hiring a crew to run your event. I recommend checking who handles setup, rehearsals, live support, backups, and teardown before you sign.
Here’s what I look for in the plan:
- Staging: Space for presenters, clear sightlines, and safe access.
- Lighting: Visible faces, readable screens, and cues matched to the agenda.
- Audio: Clear speech across the room, tested microphones, and assistive listening.
- Video: Readable slides, tested playback, and camera views or streaming when needed.
My rule: <u>put each responsibility in writing</u>. For example, test a 16:9 slide deck from the back row - not just at the presentation laptop. Then use one shared run of show to coordinate the crew, presenters, and backup steps.

Corporate AV Services: From Planning to Teardown
Event A/V Essentials Part 5: Creating Your Onsite Production Schedule - Logan Clements
sbb-itb-ae35a94
Staging for Presenters and Program Flow
Build the stage around the agenda. Each session needs a different setup:
- Keynotes need open space around the lectern.
- Panels need room for chairs, tables, and clear entry paths.
- Awards need a dedicated handoff area and a predictable recipient route.
These needs determine platform size, access routes, and equipment placement.
Stage Platforms, Lecterns, and Access
Once the agenda is set, specify the platform’s width and depth in feet and inches, and its height in inches. Base the height on audience sightlines and venue limits: 12–18 inches for intimate seated events and 24–36 inches for medium rooms. Measure furniture and allow room for movement before approving the stage footprint. Check ceiling height, load limits, delivery-door dimensions, and freight-elevator capacity before finalizing the platform.
Choose a fixed or movable lectern with the right microphone position, laptop shelf, and logo panel. Match panelist seating to the session format and speaker count. Place stairs where they won’t block aisles or cameras, and include ramp or lift access in the layout.
Use skirting to hide platform legs. Keep branded set pieces clear of screens, exits, and access routes, and confirm venue rules for handrails, floor protection, and scenic materials.
Sightlines, Equipment Placement, and Setup
With the platform layout set, use sightlines to place monitors, cameras, and operators. Check a scaled room plan for views from rear seats, side seats, and wheelchair spaces - not just the center aisle. Include camera positions and clear paths for operators.
Confidence monitors let presenters see slides, notes, timers, or cues while facing the audience. Place them where speakers can glance at them easily without blocking the main screens or putting the monitors in camera frames.
Include platform leveling, secured stairs, and cable protection across traffic routes in the staging scope. During rehearsal, check entrances, exits, monitor readability, and furniture changes. Assign stagehands to move equipment, and confirm who handles layout changes, strike, branding removal, and room clearance.
Lighting for Presenter and Room Visibility
With the stage set, lighting determines what the audience can see.
Lighting Presenters, Lecterns, and Panels
Front light makes faces visible, fill light softens shadows, and rear light separates presenters from the backdrop. Place the key light slightly above eye level, 30–45 degrees off-axis. Then adjust it to prevent deep shadows around the eyes and glare on lectern notes.
Use overlapping light to cover the lectern, panel seats, and movement paths. Panelists need to stay well lit even when they turn toward one another. For recording or livestreaming, choose camera-appropriate, flicker-free fixtures with CRI/TLCI ratings of 90 or higher. Test exposure, skin tones, and flicker using the actual cameras and frame rates.
Once faces and the stage are clearly visible, focus on protecting slide contrast.
Room Lighting, Screen Visibility, and Cues
Keep stage and scenic light off screens and projection surfaces. Use shutters and careful aiming to preserve slide contrast, and check screen brightness, presenter exposure, and background lighting together. Add brand-color accents to scenery or backdrops without changing how skin tones appear.
Program lighting cues for arrivals, presentations, video playback, awards, breaks, and exit. Time transitions with walk-on music and video playback. Keep low-level lighting on aisles and steps, and never black out exit routes. Before guests arrive, test the actual slides and videos under every planned lighting state.
Spell out who handles fixture placement, focusing, cue programming, and strike - the removal of lighting equipment after the event. List included rehearsal hours and any separate rigging or venue labor charges. Put these responsibilities in the AV scope before load-in.
Audio for Clear Speech and Room Coverage
Once presenters are visible, clear audio helps their message reach the whole room.
Microphone Selection and Speaker Placement
Choose microphones to fit the program: lavaliers for presenters who move, handhelds for panels and questions, and lectern, boundary, or gooseneck mics for fixed remarks. Place a lavalier 6–12 inches from the mouth, listen for clothing rustle, and rehearse every handoff.
Plan loudspeaker coverage around the room’s dimensions, seating layout, ceiling height, surfaces, and background noise - not just the attendee count. Aim speakers toward listeners and away from open microphones. Larger rooms may need delay speakers timed to work with the main system. Check speech clarity from the front, middle, rear, side, and accessible seating areas. More volume won’t fix echo.
Confirm assistive-listening requirements with the venue, including receiver quantities, hearing-aid compatibility, signage, and who will distribute and collect devices. Receiver counts depend on venue capacity and ADA rules, so verify both the required quantity and the distribution plan with the venue.
Sound Checks, Playback, and Backup Microphones
The provider’s scope should include wireless coordination, sound checks, live mixing, troubleshooting, and teardown. During rehearsal, test every microphone and playback file, label channels, check batteries, and keep a tested backup mic within reach. During the event, the operator balances speech and playback, mutes unused microphones, and manages feedback.
For streaming, request a dedicated livestream mix from the console with clean speech and playback audio. Monitor the online output separately. Test audio in both directions with remote participants, and use a mix-minus feed to remove their own voice from the audio sent back to them. This helps prevent distracting echoes. Include audience-question microphones so remote viewers can hear the full discussion. The same console feed also supports video playback and livestream output.
Video for Readable Slides and Clear Playback
Video helps everyone in the room read slides, see speakers, and follow playback. Once audio is covered, the video setup determines how clearly those visuals reach each seat.
Display Selection and Live Camera Views
Choose display size and placement based on the farthest seat, ambient light, and slide density. Test the deck from the back row and side seats. Higher resolution won’t fix a screen that’s too small or slides packed with text. Position displays above seated sightlines, and add side screens where viewing angles are poor.
Projection works well when you can control the lighting, but it needs the right projector distance and limited stray light. LED displays maintain stronger contrast in bright rooms and avoid projector shadows. Their pixel pitch should suit both the closest and farthest viewers. Use confidence monitors to show presenters their slides, notes, or timers.
Use image magnification for live camera views of speakers, panels, or demonstrations when distant attendees can’t see details clearly. Plan camera positions and switching cues so close-ups support the slides rather than replace them.
With screens in place, test every file and output path.
Content Testing, Video Switching, and Backup Playback
Before the room opens, test the final files on the presentation computer through the full display chain. Check aspect ratio - commonly 16:9 - along with resolution, font size and rendering, animations, embedded media, video audio, clicker operation, and presenter view. Verify camera framing and every display output. After file or equipment changes, repeat any checks those changes affect.
Once the display plan is set, the provider manages the video signal path. Signal routing sends presentation computers, playback devices, and cameras to screens, confidence monitors, recording systems, or streaming destinations. The provider’s scope should spell out who handles routing, switching, playback, camera operation, and output monitoring. Require a tested backup presentation source with the approved files, fonts, and media, and name who can authorize the switch if the primary source fails.
Coordinating AV Services and Responsibilities
Planning, Setup, and Technical Rehearsal
Once staging, lighting, audio, and video are defined, bring them together in one production plan. Review the agenda, room, content, power, network, rigging, and access before approving the scope, staffing, and setup window. List crew hours, rehearsal time, and overtime separately in the scope, then use it to guide rehearsal and cueing.
A technical rehearsal takes presenters and operators through the entire show. Run microphones, entrances and exits, cues, slides, playback, monitors, and cameras together. For every unresolved issue, assign an owner, a deadline, and a method for approval.
Live Operation, Teardown, and Scope Checks
Use a shared run of show to link each presenter entrance to microphone activation, lighting, slides, confidence monitor content, and camera cues. Identify the cue caller, operator, fallback action, and person with authority to approve changes. Agree on an intercom or radio channel so the crew can help presenters and fix problems without interrupting the program.
Keep provider, client, and venue duties in one written scope so nothing falls between teams. Use this matrix to confirm who handles each task.
| Production phase | Provider responsibilities | Client or venue inputs | Sign-off |
|---|---|---|---|
| Planning and setup | Production plan and labor estimate | Client: agenda, content, branding. Venue: access, power, internet, rigging rules | Who approves the scope, staffing, and setup window? |
| Technical rehearsal | Cue sequence and backup steps | Client: presenters and final content. Venue: house-system support | Who owns rehearsal scheduling and issue resolution? |
| Live operation | Operator coverage, including agreed streaming and recording duties | Client: decision-maker. Venue: building services | Who approves live program changes? |
| Teardown | Equipment removal and agreed file handoff | Venue: strike window and room requirements. Client: file recipients | Who signs off on room clearance and any file-delivery commitments? |
Confirm the matrix before signing, and update it whenever the program changes. During teardown, separate the provider’s equipment from client and venue property. Inspect the room together and document any outstanding issues.
Conclusion: Match AV Support to Event Needs
Plan staging, lighting, audio, and video as one system, with a clear owner for each part.
A small meeting may need a lectern, one or two microphones, basic room lighting, a display, and an operator or technician on call; a keynote or panel needs stage platforms, presenter lighting, multiple microphones, confidence monitors, presentation playback, and dedicated audio and video operation.
Larger hybrid or multi-room programs need coordinated design, rehearsals, operators, backups, and written responsibilities.
FAQs
How far in advance should I book corporate AV services?
Book your AV production partner early. Aim for 3 to 6 months ahead for most conferences, 8 to 16 weeks for executive summits or events with custom environments, and 12 months or more for large-scale events.
That lead time lets your provider confirm technical requirements, conduct site surveys, and coordinate logistics with the venue. It also helps you avoid last-minute problems and keep your event on budget and on schedule.
How can I prioritize AV needs on a limited budget?
Put must-haves before nice-to-haves, with audio needs and show-critical technical support at the top. Set aside roughly 10%–20% of your total event budget for production, plus a contingency fund of approximately 10%–30% for unexpected costs or last-minute changes.
Bring your AV partner in early so your technical goals fit your budget. Ask for itemized quotes to spot costs you can cut, and consider projection instead of LED walls if the room allows.
What venue details could increase my AV costs?
The venue itself can drive up AV costs. Low ceilings, limited power, difficult room acoustics, poor loading dock access, tight load-in windows, and inadequate internet infrastructure can mean extra equipment, power upgrades, more labor, overtime, or dedicated bandwidth and backup lines.
Check the venue contract, too. It may include patch fees, rigging labor, union requirements, and outside-vendor penalties. Hotels that subcontract AV may also add markups.
Related Blog Posts
- Reliable Full-Service Event Production Companies For AV And Staging
- Event‑Management Firms With Strong Technical Production Services
- 3 Recognized AV Companies Who Help You Produce Sales Meeting And Training Summits.
- 3 Reasons To Work With Corporate Optics With Full-Service AV Production Experience For Your Next Conference.


Streamline your workflow, achieve more

Lorem ipsum dolor sit amet, consectetur adipiscing elit. Maecenas ac velit pellentesque, feugiat justo sed, aliquet felis.



Lorem ipsum dolor sit amet, consectetur adipiscing elit. Maecenas ac velit pellentesque, feugiat justo sed, aliquet felis.