How To Design A General Session Stage That Makes Your Ceo's Message Land.

Chief Executive Officer

I start with the CEO’s message - not the stage equipment: 1 main point, 2–4 supporting points, and 1 action for the audience. Then I plan the room and production cues so people can see, hear, and follow that message.
My checklist is simple:
- Layout: Check sightlines, screen readability, accessible seating, and the CEO’s speaking position.
- Production: Keep facial lighting steady, test speech across the room, and show one idea per graphic.
- Rehearsal: Run the speech with final files, camera shots, prompts, and timed cues.
- Backup plans: Test spare equipment, prepare spoken fallbacks, and assign cue and recovery owners.
My final test: <u>Does this choice help the message land?</u> If not, I cut it. The stage should support the CEO - not compete for attention.

CEO Stage Design: From Message to Show-Ready
Step 1: Plan the Stage Layout and Sightlines
Once the message brief is set, plan the room so the stage supports it. Start with a scaled room drawing in feet and inches. Include room dimensions, ceiling height, columns, doors, exits, seating, aisles, the stage footprint, screens, camera and lighting positions, access points, and cable routes. Plot audience and camera sightlines on the same drawing. Before approval, get written confirmation from the venue on ceiling clearance, rigging points, load limits, floor capacity, power, and installation limits.
Set a Clear Central Speaking Position
Mark the CEO’s main speaking position near the center of the stage. Keep furniture, scenery, and equipment from blocking the audience’s view of that spot. Choose the stage height based on back-row sightlines and whether attendees will sit or stand. For larger events, 24–36 inches is a planning range - not a rule. Provide marked stairs or an accessible ramp, leave exits and aisles clear, and cover cable runs with ramps.
Check Sightlines From Every Seating Area
Have one person speak from the stage mark while another checks the view from the front, center, rear, sides, accessible seats, and behind columns. Make sure attendees can see both the CEO and the screen without repeatedly turning their heads. Mark blocked seats and adjust seating, stage placement, or screen placement. Where distance or obstructions limit the view, add side screens or IMAG - live camera images displayed for the audience.
If anyone still has to strain to see, resize the screens before moving on.
Size Screens and Position Presenter Monitors
Choose screen and text sizes based on the farthest viewing distance, content format, ambient light, and camera framing. Start with a screen width equal to one-sixth of the farthest viewing distance, then check readability from the seats with the poorest views. Screen content should support the CEO, not pull attention away. Keep key text clear of the CEO’s body and movement path, and check camera framing to make sure the CEO never blocks it.
Place confidence monitors low and in front of the CEO, angled upward and out of the audience’s view. Test prompt size, brightness, scroll speed, and reading angle at every speaking position. The CEO should be able to glance at prompts without turning toward the rear screen or lowering their head.
sbb-itb-ae35a94
Step 2: Keep the CEO Easy to See and Hear
Once the sightlines work, focus on two things: making the CEO easy to see and every word easy to hear.
Light the CEO Separately From the Scenery
Keep the CEO visually separate from the scenery. Light the full speaking area evenly. Place a key light about 45 degrees off-axis and above eye level, with fill at about half strength. Add backlight only where needed to separate the CEO from the background. Adjust the setup for the CEO’s height, skin tone, wardrobe, and camera shots.
Look for shadows under the eyes, glare on glasses, reflections, and screen spill that changes skin tone. Check every camera feed as the CEO moves. A face can look well-lit in the room but flat on screen.
Keep facial lighting steady during remarks. Save lighting changes for program transitions, and cue them after the CEO finishes the thought. The lighting should support the message, not distract from it.
Make Speech Clear Throughout the Room
Choose a mic that keeps the CEO’s words clear from the front row to the back. Match it to the delivery: a gooseneck for a lectern, a lavalier for limited movement, or a headset for frequent movement. Secure it so it won’t rub against clothing, jewelry, or hair.
Test speech from front, center, rear, side, and under-balcony seats. A quick mic check isn’t enough. With HVAC and displays running, listen for muffled consonants, echoes, and sudden volume changes.
If coverage falls short, have the audio engineer adjust fill-speaker timing and aim to match the main system. Check several seats in each fill zone. Repeated syllables or a second audible voice point to a timing problem.
Keep stage-monitor audio only as loud as the CEO needs, and don’t aim it into the microphone. Test for feedback at the loudest expected delivery level. Once speech is clear throughout the room, simplify the screen content to match.
Show One Main Point per Graphic
Use one short statement, chart, or image per graphic to support the CEO’s current point. Cut unrelated metrics and decorative motion.
Check contrast, chart labels, and screen brightness with the final lighting active. A bright screen shouldn’t overpower the CEO’s face. Cue each graphic when the point is introduced, leave it up long enough to read, and clear it when the discussion moves on.
Step 3: Rehearse and Prepare Backup Plans
Test From Audience Seats and Camera Positions
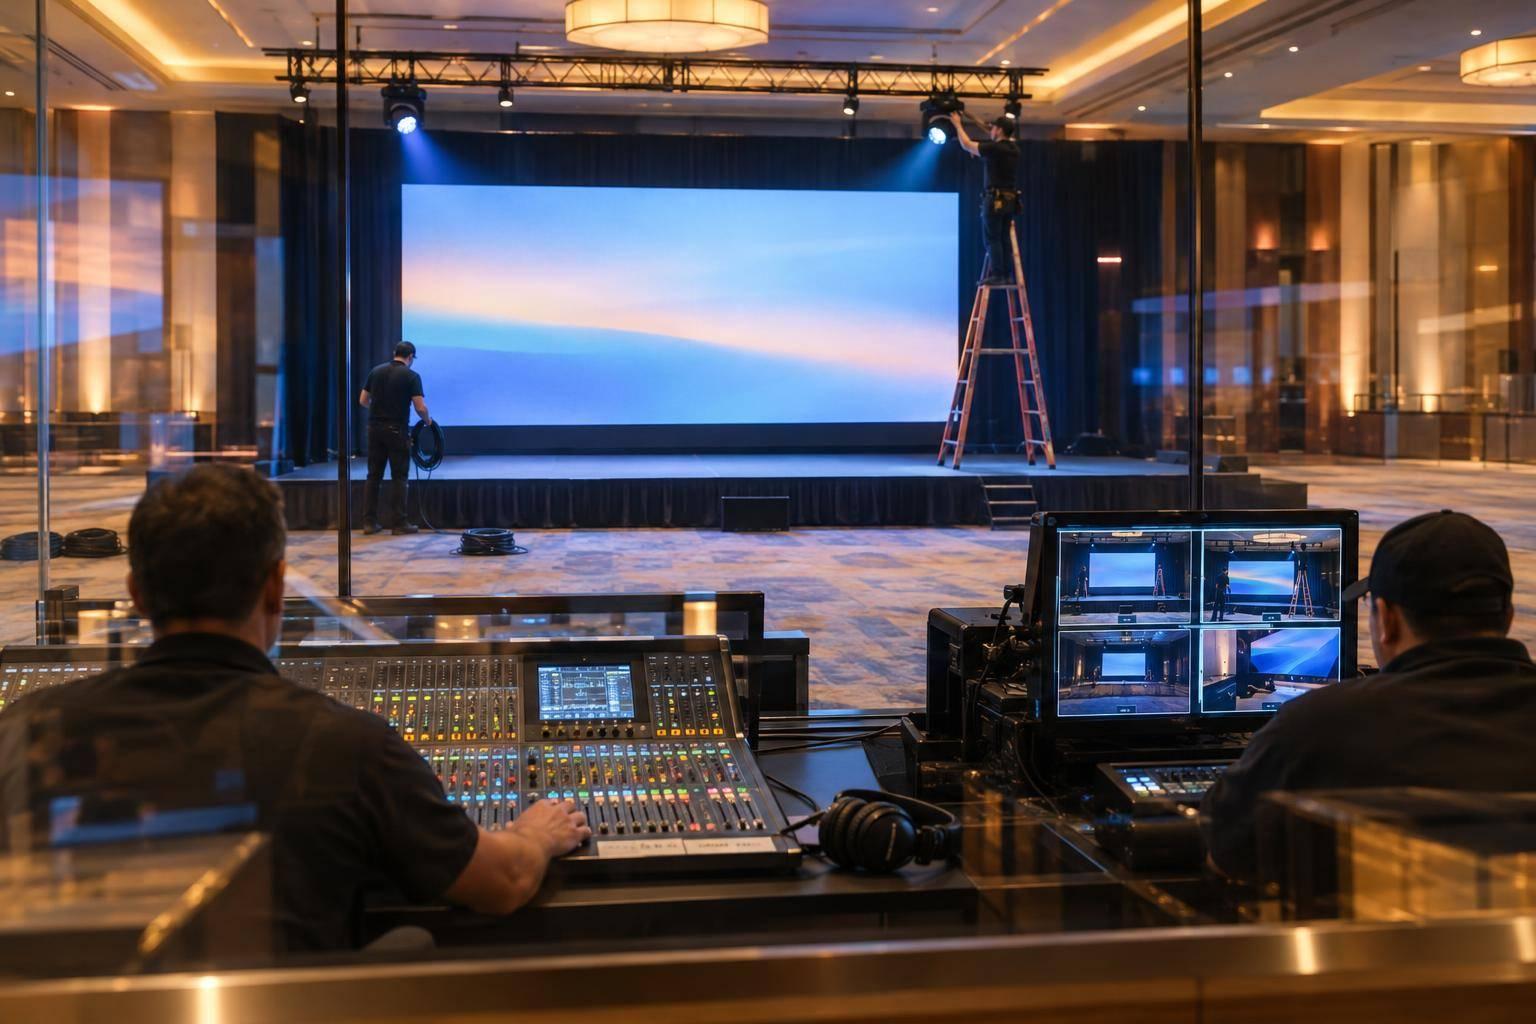
Once the layout, lighting, audio, and graphics are set, rehearse the full show in the room. Schedule a technical walkthrough 2–3 days before the event and a full dress rehearsal 1 day before. Run the presentation at the CEO’s planned pace in the actual venue. Use the final files on the installed screens to catch problems with embedded video, fonts, aspect ratios, or playback before showtime.
Assign one person to watch from front-center, side, rear-center, accessible, and obstructed seats. Have camera operators check close-up, medium, wide, and walk-on shots from their actual positions. Review the audience feed - not just control-room monitors - for exposure, framing, and readable graphics.
Rehearse the CEO’s route from the waiting area to the speaking position. Check entrance lighting, entrance music, microphone pickup, and presenter prompts along the way. Log problems so the team can fix them before the final run.
Plan for AV Failures and Script Changes
Rehearse recovery, not just failure points. Practice using a tested spare microphone of the same type, switching to a second presentation computer, and continuing without screens or presenter prompts. Give the CEO printed key points and a rehearsed verbal sequence to keep the message on track. Time each recovery so the stage manager can decide whether the CEO should pause, keep speaking, move, or skip the segment.
Prepare hold, skip, and alternate cues for delayed entrances, shortened remarks, omitted slides, and changes in movement. Keep the CEO in the best-lit central position while operators restore the affected system.
Put the stage manager in charge of cue changes, with the prompt operator discreetly sharing approved script revisions. Record the approved recovery sequence in the run sheet before the final rehearsal ends.
Finalize the Run of Show and Technical Settings
Use the final run sheet to lock the exact cues the team will call on show day. Document stage dimensions, screen and camera positions, speaking marks, lighting states, audio settings, approved playback files, cue timing, contact information, and backup assets. These details should keep the CEO visible, audible, and on-message.
Assign cue and recovery owners for scenic, lighting, audio, video, and speaker support. Include a backup operator or escalation path for each. Add buffer time for overruns and recovery, and record which backups passed testing. Mark unresolved items, their owners, and deadlines on the final run sheet.
Conclusion: Check the Stage Against the Message
Once layout, lighting, audio, graphics, and rehearsal are set, check every production choice against the CEO’s approved message before final sign-off. If it doesn’t clarify the point, cut it.
Run a final acceptance check: a central speaking position, clear sightlines, even facial lighting, clear audio in the room and on the live stream, readable screens, one idea per graphic, rehearsed cues, and tested backups. Include accessible seating, assistive listening, and captioning where needed.
The message still needs to land if something fails. Every key point needs a spoken fallback if a screen, mic, or playback system stops working. Use the CEO’s approved message points as the master brief for every production decision.
FAQs
Which stage elements should I prioritize on a tight budget?
Put the CEO’s message first. Use reliable, well-tested microphones and high-quality audio so everyone can hear clearly, without dead spots or echoes. Position screens so people in the farthest seats can read the content, using high-brightness projection or LED displays.
Keep scenic designs simple and professional, with subtle branding rather than complex fabrications. Budget for a professional technical director or show caller to keep transitions running smoothly. Fund these core needs before spending on theatrical spectacle.
How do I balance in-room and livestream viewing needs?
Treat your event as two separate shows with the same content. Give livestream viewers their own clean audio mix instead of sending them the in-room PA mix.
Use adjustable lighting to keep the speaker well-lit for attendees while meeting broadcast-quality lighting needs for cameras. Place cameras at eye level for a natural view. Use 3D CAD mapping to check sightlines and make sure both audiences can read the screens.
How can I tell if the stage design improved message retention?
Use post-event surveys to check how clearly your message came across and how satisfied participants were. Integrating AV with care, including well-planned stage design, can improve information recall by 43%.
Heat mapping shows which parts of a presentation held the audience’s attention, helping you refine visuals for future events. Live polling and Q&A analytics offer real-time feedback on audience engagement and how well your message resonated.
Related Blog Posts
- Best Companies in the Midwest for Conference Stage Design
- Top 3 Services Event Production Companies Provide for Annual Conferences
- Top Stage And Scenic Design Partners For Conferences And Live Events
- 3 Top-Rated Event Production Companies That Excel With Large Audiences And General Session Scenic Design, With Great Industry Reputation.


Streamline your workflow, achieve more

Lorem ipsum dolor sit amet, consectetur adipiscing elit. Maecenas ac velit pellentesque, feugiat justo sed, aliquet felis.



Lorem ipsum dolor sit amet, consectetur adipiscing elit. Maecenas ac velit pellentesque, feugiat justo sed, aliquet felis.