Onsite Badge Printing Gone Wrong: 5 Problems and Fixes

Chief Executive Officer
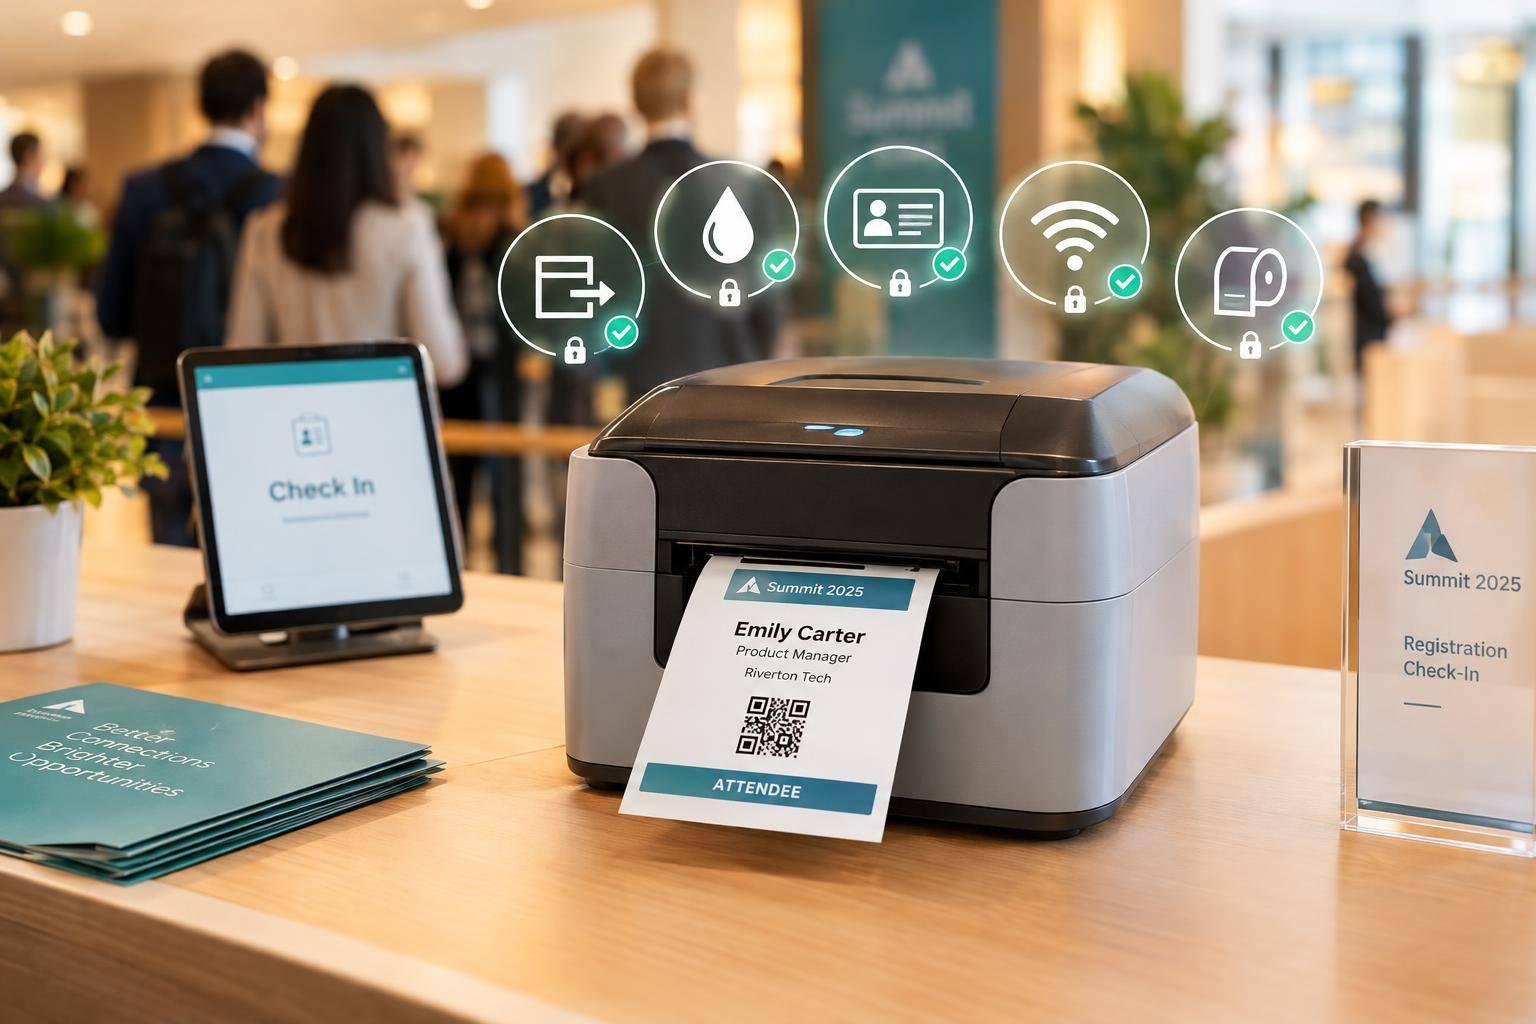
When a badge printer fails, I pause the station and send attendees to a tested backup - without skipping identity or access checks. Before reopening, I print and scan at least 1 test badge to confirm it opens the correct attendee record.
I use these first checks for the five common problems:
- Jams or misfeeds: Check stock alignment, clear trapped media using the printer’s instructions, and recalibrate if needed.
- Faded text or unreadable barcodes: Check stock, ribbon, and print settings; clean only as directed.
- Incorrect badge details: Verify and correct the registration record before reprinting. Get approval for access changes.
- Lost connections: Check power, cables, printer selection, and the approved network. Leave security settings to support.
- Empty supplies: Load compatible stock or ribbon, then test feeding and scanning.
My rule: <u>a printed badge is not proof of a completed check-in</u>. I track interrupted jobs, void bad copies, and reconcile approved offline entries to prevent duplicates. With staff roles, spare supplies, and professional production support contacts ready, I can keep attendees moving while the issue is fixed safely.

Onsite Badge Printing: 5 Problems and Safe Fixes
Before Troubleshooting: Redirect Attendees and Review Safety Steps
Before check-in opens, assign one troubleshooter and one attendee-flow lead. The troubleshooter stays with the equipment and handles the printer, computer, supplies, and vendor support. The flow lead sends arrivals to working stations and routes name changes, missing registrations, and reprints to Badge Help. Keep Badge Help clear of the main entrance and exit lanes.
Place approved samples of each badge type beside the printer. Keep matching badge stock or labels, ribbons or ink, spare paper, power cables, and instructions nearby. Compare printed badges with the samples to tell data errors apart from print failures. Store the printer model, serial number, firmware/software version, and support contacts in one labeled folder.
Follow the model’s safety instructions when powering down, unplugging, clearing media, opening covers, or replacing ribbons or cartridges. Never force jammed stock, reach into moving parts, bypass safety covers, or attempt electrical repairs. Keep liquids away and secure cables to prevent trips. Stop using equipment if you notice smoke, burning odors, exposed wiring, or unusual heat, and contact technical support.
Check that backup printing works with the actual badge stock and every required badge type. Test the full check-in workflow on the venue’s devices and network - not just whether the printer turns on.
Before opening, verify any approved offline process. Load attendee data onto approved devices, test offline lookup or scanning, and decide how staff will record edits and duplicate check-ins for later sync. If handwritten badges are allowed, prepare the supplies and replacement process; don’t improvise badges during an outage. With backups ready, move to the first failure: printer jams and misfeeds.
sbb-itb-ae35a94
1. Printer Jams and Misfeeds
Visible Symptoms
Badges may stop midfeed, feed several at once, wrinkle, print crooked, or fail to eject. Media errors and skipped badges can also signal a misfeed. Record the station, time, attendee or transaction ID, and damaged badge count. Note whether the problem occurred during feeding or printing.
First Checks
Pause the station and stop new print jobs. Inspect the media path, output slot, rollers, and sensor area for torn stock, adhesive residue, or label fragments.
Make sure the stock sits squarely, the guides fit snugly without squeezing it, and the cover closes fully. The loaded badge size and media type must match the printer and driver settings. If the stock is loaded correctly but badges still skip or advance unevenly, check the gap or mark settings and calibrate if needed.
Recovery Steps
Follow the model’s jam-clearing procedure. Card printers and roll-fed printers require different handling. Power down and let the printhead cool when the instructions call for it.
Use the approved release or manual advance control to remove trapped stock. Clear any fragments, then reload with the printable side facing the correct direction and the guides properly positioned. Run the required feed or calibration procedure, then print at least one test badge.
Before restarting queued jobs, check that the badge feeds straight, the cut or tear line is correct, the full layout prints, and the barcode isn’t clipped.
Keeping Check-In Moving
Direct arrivals to the next working station while support clears the jam. Don’t repeatedly resubmit the same badge. Put damaged prints in a marked void envelope, and record the registration ID and replacement status for reconciliation.
If jams return after correct loading and calibration, take the printer out of service and switch to the tested backup. If it feeds cleanly but the badge still reads poorly, move to faded text and barcode issues.
2. Faded Text and Unreadable Barcodes
Visible Symptoms
Badges may feed correctly but show pale names, missing characters, patchy print, white lines through text, blurred edges, or gaps in barcode bars. Compare the badge with the approved sample. Check that the barcode’s clear margins, or quiet zones, are unobstructed. Readable text does not guarantee a scannable barcode.
First Checks
If badges feed correctly but print too light or unreadable, start with the output - not the queue. Print the manufacturer’s self-test label. A faint self-test points to the printer, supplies, or settings. A clear self-test points to the application, driver, or template.
Confirm that the correct badge stock is loaded and aligned and that the printer cover is fully closed. On thermal-transfer printers, check that the ribbon is installed correctly. Verify media-ribbon compatibility, along with the darkness, speed, media type, and print mode settings.
Recovery Steps
Replace any consumable that is depleted, damaged, wrinkled, or contaminated. If streaks or light areas remain after loading and alignment checks, pause printing and secure the queue. Follow the manufacturer’s cleaning procedure using only approved tools. Remove the media and ribbon as directed, and let the cleaned parts dry. Never scrape the printhead or use an unapproved household cleaner.
Check the media type and print mode, then adjust darkness or heat in small increments. If printing is still too light, reduce the print speed and test again. Change only one setting at a time.
Use the lowest darkness setting that produces solid text and scan-ready barcodes. Excessive heat can shorten printhead life or damage the ribbon. Print and scan a test badge, and confirm that the text is dark and complete. Record the successful settings so every station uses the same configuration.
Keeping Check-In Moving
Mark the station “Temporarily unavailable” and direct attendees to a working station while support investigates. This is a standard protocol for any corporate meeting and event production company managing onsite logistics. Use manual verification only when approved. Complete identity and registration checks, log the exception, protect attendee data, and issue the badge later. Do not bypass access checks or duplicate check-ins.
If the badge prints clearly but the attendee information is wrong, move to incorrect badge details.
3. Incorrect Badge Details
If a badge prints cleanly but shows the wrong information, check the registration record - not the printer.
Visible Symptoms
Watch for misspelled names, old company names or job titles, incorrect attendee types or access permissions, and QR codes linked to the wrong record. Treat access errors as urgent, even if the attendee’s name is correct.
First Checks
Find the official registration record using two identifiers, such as an email address and confirmation number. Before editing, check for duplicate records, transfers, registration status, and approved substitutions.
Compare the live record with the badge preview and a test badge. If the same mismatch keeps appearing, check the template or field mapping.
Recovery Steps
Verify the correction under the event’s identity policy. Get supervisor approval for access changes, and keep transfer approvals in the audit trail.
Update the source record, not just the badge template. Then reprint the badge and scan-test it before handing it to the attendee.
Collect and void the incorrect badge if the system allows it. If you can’t collect it, record the incident and alert access-control staff. Securely destroy any collected badges, and log the change, approval, staff member, and time.
Keeping Check-In Moving
Don’t issue a replacement based on a verbal claim or create a new record to get around a mismatch. Send unresolved identity, substitution, or access cases to the help station so verified attendees can keep moving.
Before doors open, clean up the data to cut down on onsite reprints and access disputes. Remove duplicates, review substitutions, and test permissions for speakers, VIPs, and multi-day attendees. Document who can approve onsite corrections.
4. Lost Printer Connections
Visible Symptoms
An “offline,” “not responding,” or “unavailable” message, a missing printer, or a stalled queue may point to a lost connection - even when the printer is on. Note the station name, printer name, error message, and approximate time the problem started so support has the details.
First Checks
Check that the printer has power, shows a ready status, and has all cables connected. Make sure the correct printer is selected and active.
For network printing, confirm that the station uses the approved event network - not guest Wi-Fi - and has approved local network access. Internet access alone doesn’t mean the printer is reachable. The network may still block traffic between local devices.
Recovery Steps
Follow the approved runbook to reconnect cables, reselect the printer, or restart the app and device when authorized. Send firewall blocks, changed IP addresses, restricted venue networks, and other security policy issues to leading event production providers or authorized support. Don’t disable security controls or change network settings yourself.
Give support the printer model, station name, connection type, error message, printer IP address if available, and time of failure.
Pause new submissions and check which badges are completed, failed, or pending. Cancel duplicates, then resend only missing badges. Print one test badge and scan it before reopening the station.
Keeping Check-In Moving
Post a clear sign at the affected queue. Use offline check-in only if it was tested and approved before the event. For each manual check-in, log the attendee’s name or registration ID, the time, and staff initials.
Once the connection returns, follow the documented synchronization process. Compare the uploaded records with the manual log.
If the printer reconnects but still can’t print because of supplies, move to the section on empty paper, labels, or ribbons.
5. Empty Paper, Labels, or Ribbons
Visible Symptoms
Alerts such as “Media Out,” “Paper Out,” or “Ribbon Out” point to a supply problem. Look for an empty roll core, backing with no labels, or the ribbon end marker. If stock is still present, misalignment or a sensor issue may be triggering the warning.
First Checks
Pause printing. Check the replacement part number, label size, roll direction, and core size. Direct-thermal stock needs no ribbon; thermal-transfer stock does. Match the ribbon type and width to the media and printer settings. Don’t load incompatible stock.
Recovery Steps
If the warning persists after you confirm stock compatibility, follow the model’s loading diagram and cooling instructions. Remove scraps and thread the stock through the guides and sensors. Load the ribbon onto the take-up core in the specified direction. Close and latch the cover, then use FEED, ADVANCE, or calibration as directed. Leave the printer on unless the model requires you to turn it off.
Separate partial or damaged badges from good ones. Match the interrupted job to its attendee record and mark it pending - don’t create another check-in. Print and scan one test badge before resuming queued jobs, and confirm that the stock advances one badge at a time.
Keeping Check-In Moving
Move attendees to a working station while staff replace supplies. Assign one staff member to check supplies at opening, after arrival waves, and every 30 minutes during peak check-in. Track stock against expected attendance, walk-ins, reprints, and waste. Keep compatible replacements near the stations, labeled by printer model. Return the station to service only after it feeds a clean test badge.
Badge Printer Troubleshooting at a Glance
Use this desk-side guide after the detailed fixes above to route attendees while staff troubleshoot and identify when to escalate. Keep identity and access checks in place.
| Symptom | First diagnostic check | Temporary workaround | Escalation trigger |
|---|---|---|---|
| Jams or misfeeds: Stock stops, wrinkles, or double-feeds. | Pause the queue. Check stock alignment and visible obstructions before following approved clearing steps. | Send the attendee to a tested backup station. | Contact technical support if jams return after approved clearing and correct loading. |
| Faded text or unreadable barcodes: Names look faint, lines are missing, or the code won't scan. | Check the ribbon, stock, and density settings before approved printhead cleaning. | Send the attendee to a scanner-tested backup station. | Escalate if barcodes still won't scan after approved maintenance and media or settings checks. |
| Incorrect badge details: The name, ticket type, or access level is wrong. | Compare the ID, registration record, and badge preview. Check for registration data that hasn't synced. | Hold the incorrect badge and send the attendee to the correction station. Issue only verified access, log the reprint, and invalidate or collect the original. | Refer unresolved identity, ticket, or access differences to the registration lead. |
| Lost connection: The printer appears offline or accepts no print jobs. | Check power, cables, the selected printer, and network status. Confirm the workstation is logged into the approved event account. | Send the attendee to a connected backup station or approved offline device. Sync offline records when service returns. | Escalate if failures continue after an approved restart, connection checks, and backup-path testing. |
| Empty supplies: “Media Out” or “Ribbon Out” appears; printing stops. | Identify which supply ran out. Confirm the replacement meets the printer, badge stock, and ribbon requirements. | Send the attendee to a stocked backup station. | Escalate if compatible supplies aren't available or remaining stock can't produce reliable, scannable badges. |
Before a technical handoff, record the station, error message, and checks already completed. Reopen the station only after a physical test badge, placed in its actual holder, scans correctly under venue lighting.
Assign Check-In and Technical Support Roles
Once recovery starts, clear ownership keeps repairs, reprints, and attendee flow from getting in each other’s way. Post a role board listing each owner’s name, radio or phone contact, backup, and approval authority. This helps prevent duplicate reprints, missed exceptions, and lost offline check-ins.
Keep printer recovery separate from record corrections. The technical lead handles audiovisual equipment, connections, software, and supplies - not attendee-data edits. Check-in staff handle routine arrivals. The registration help desk verifies and applies approved corrections before reprinting. Only the access-authorization contact can approve changes to VIP, speaker, staff, or restricted-area permissions.
The queue coordinator keeps arrivals moving while the station is being repaired. They direct attendees, separate exceptions from routine check-in, and share confirmed wait-time updates.
Assign an offline reconciliation owner to maintain the offline arrival log and track badges awaiting reprint. When service returns, they match manual entries to registration records, with a second staff member reviewing exceptions. At shift change, they hand unresolved cases to the next lead so manual check-ins stay linked to the same records used for reprint reconciliation.
Conclusion: Test Badges and Reconcile Check-Ins
Pause the station and redirect attendees while you fix the issue. Before reopening, print one test badge on the same stock. Check the name, company, access level, and alignment. Then scan the barcode or QR code with the check-in scanner to make sure it opens the correct record. A badge is not ready until it scans correctly.
Match interrupted print jobs to registration records, cancel duplicates, and securely destroy unusable copies. A print attempt never counts as attendance. Reconciling these records prevents duplicate attendance counts and access errors.
Before the next rush, place one unopened compatible replacement set at each station and test backup printers and scanners. Keep escalation contacts and directions to backup stations on a one-page reference sheet.
FAQs
How many backup badge printers do I need?
There’s no fixed ratio for backup badge printers. Plan backups for every critical piece of equipment. Before the event, assess what could fail and use that assessment to decide how much spare hardware you need.
Corporate Optics recommends keeping backups on-site, within easy reach of registration staff, and ready for immediate use. That helps limit delays and keeps check-in lines moving.
How long should I troubleshoot before switching printers?
Limit troubleshooting to a quick check of the connection or supplies. If that doesn’t fix the issue right away, switch to a backup printer that’s already set up to keep check-in moving.
Corporate Optics recommends keeping backup hardware ready on-site so staff can swap printers with little disruption to registration or the attendee experience.
How much spare badge stock should I bring?
Bring spare badge stock equal to 10%–15% of your total expected attendance to cover printer jams, damaged badges, and changes in registration. Adjust that buffer based on how much you expect registration numbers to change.
Give your technical team a clear, pre-tested troubleshooting plan that includes how to swap out hardware quickly if a printer fails. That way, check-in can keep moving with little disruption.
Related Blog Posts



Streamline your workflow, achieve more

Lorem ipsum dolor sit amet, consectetur adipiscing elit. Maecenas ac velit pellentesque, feugiat justo sed, aliquet felis.



Lorem ipsum dolor sit amet, consectetur adipiscing elit. Maecenas ac velit pellentesque, feugiat justo sed, aliquet felis.