Speaker Preparation For Executive Presenters: A Coach's Checklist.

Chief Executive Officer
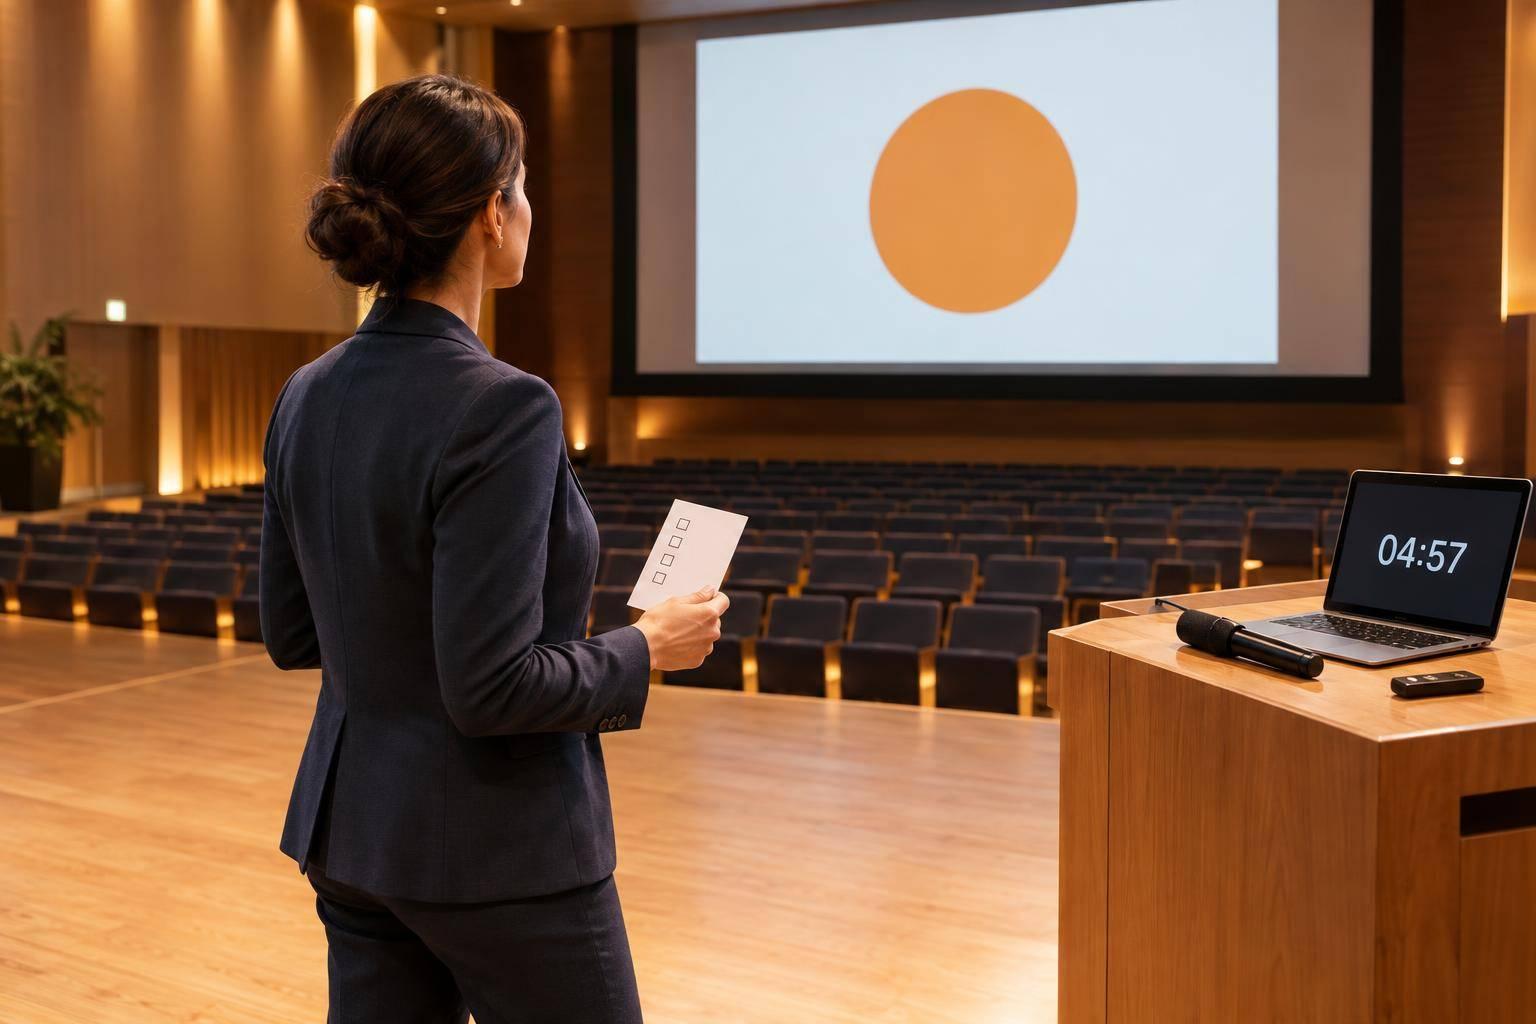
I don’t judge speaker readiness by the slide deck. I check what happens in rehearsal. My checklist starts with one clear message, a timed run, and a tested plan for the stage.
Before you present, I check four areas:
- Audience and message: Who needs to hear this, what facts support it, and what should they do next?
- Timing: Does the talk fit your speaking time, with a shorter version ready?
- Slides and delivery: Do the deck, microphone, monitor, voice, and movement work together?
- Questions and team sign-off: Can you handle 10–20 likely questions, deliver a 20–30-second closing, and confirm who owns each cue and backup plan?
My rule: <u>test it before you approve it</u>. Every unresolved issue needs an owner, a deadline, and a backup - not “we’ll figure it out onstage.”

Executive Speaker Preparation: 4-Step Readiness Checklist
1. Define the Audience, Message, and Speaking Time
Identify Audience Needs and the Presentation Goal
Ask the organizer who’s attending and what the session should achieve. Document attendees’ seniority, subject knowledge, business priorities, and likely objections. Identify who makes the decision and who carries it out - they may need different evidence. For mixed audiences, explain specialized terms.
Choose one primary goal: inform, recommend, secure a decision, build agreement, or motivate action. Write the desired outcome in plain language, stating what attendees should understand or do next. Include a deadline when it matters. Then cut anything that doesn’t help the audience reach that outcome.
Clarify the Core Message and Check the Facts
Write the core message in one or two sentences, backed by two or three points. Give each point a claim, supporting evidence, and business impact. Follow that same logic through the opening, evidence, recommendation, and closing.
Replace slide titles that simply name a topic with headlines that state the conclusion. Read those headlines in order. The argument should hold together without the slide content.
Before rehearsal, check names, titles, pronunciations, terminology, dates, and figures against their sources. Recalculate percentages and confirm units, currency, and comparison periods. Keep forecasts separate from confirmed results, and get clearance for sensitive information. Be ready to explain the source and meaning of any number the audience might challenge.
Set Timing Checkpoints and Plan a Shorter Version
Let audience needs shape the message, then use the message to divide the available time. Confirm the start time, hard stop, speaker introduction, handoffs, and Q&A allowance with the production lead. The published slot is the total session time, not necessarily your speaking time.
Assign time to each part and test it aloud, including pauses and transitions. Mark checkpoints and places to cut in your notes - not just the finish time. Rehearse a shorter version that keeps the takeaway, strongest evidence, recommendation, and closing action. Cut secondary material rather than speaking faster.
With the audience, message, and timing set, move to slides, playback, and production cues.
sbb-itb-ae35a94
Preparation is Key: How to Review and Rehearse Your Presentation
2. Test Slides, Equipment, and Production Cues
Once the message and timing are set, check the deck, equipment, and cue sequence that will support the live presentation. These checks reduce onstage risk and help the executive focus on delivery rather than fixing problems.
Approve the Deck and Test Playback
Remove hidden, outdated, or duplicate slides the executive won’t explain. Test the approved deck on the show computer, not just the presenter’s laptop. Use the clicker to advance every slide, checking charts, fonts, aspect ratio, animations, subtitles, audio, and video. Rehearse demos and media transitions at presentation speed. For demos that need internet access, prepare a local recording or screenshots.
Confirm the file name, version, delivery deadline, and who can approve changes. Keep two backups: one on a production-approved USB drive and another in a secure shared folder. Export a PDF, too, but note that it won’t preserve video or animation. Assign one production owner to track final approvals and cue changes.
Test the Microphone and Confidence Monitor
Test the assigned microphone while wearing your stage outfit. Check placement, clothing noise, head movement, volume, muting, and handheld handoffs. Agree on who handles a microphone swap.
Confirm whether the confidence monitor displays the current slide, next slide, notes, or timer. Check that you can read it under stage lighting, and practice glancing at it without losing contact with the audience.
Rehearse the failure plan once:
- If the clicker fails, use the agreed cue or switch to operator-controlled slide advances.
- If the monitor fails, continue from memory or prepared talking points.
- If the microphone fails, pause for the audio team instead of speaking over the problem.
Assign one person to relay recovery instructions so the executive doesn’t receive conflicting directions.
Walk the Stage and Confirm Show Cues
Walk the entrance, speaking area, and exit with the stage manager. Locate stairs, ramps, furniture, screens, cables, and restricted areas. Confirm where you can move while staying within the lighting and camera coverage.
With the show caller, document each cue’s trigger, operator, action, and expected result. Cover slides, video, lighting, microphone handoffs, Q&A, holds, and emergency instructions. Share pronunciation notes and rehearse transitions on the live comms system.
With slides and cues set, move to voice, pacing, and stage presence.
3. Rehearse Voice and Stage Presence
Once slides and cues are set, shift from reviewing content to practicing delivery.
Separate Rehearsal Tasks and Record a Full Run
Record a full run without stopping. Watch it once with the sound off to spot distracting movements. Then listen for unclear sentences, filler words, and drops in volume. Choose two things to fix in the next run.
Repeat weak passages before recording another full run. Practice a shorter version, too, by cutting optional material. Learn the structure and key lines rather than memorizing every word. This helps keep the executive’s main takeaway intact under pressure.
Practice Pace, Pauses, and Vocal Emphasis
Start at a controlled, conversational pace. Slow down for numbers and unfamiliar terms. Pause before the recommendation to set it apart from the supporting evidence.
Mark the script with [breathe], [slow], and [pause]. Replace “um” and “you know” with silence. A deliberate pause of up to three seconds can give listeners time to absorb a point. Listen back to check that your emphasis sounds natural.
Practice Eye Contact, Movement, and Entrances
Stand upright but relaxed, with feet about shoulder-width apart. Deliver a complete thought to one person or audience section, then shift your attention across the room. Move only to mark a transition, then stop before speaking. Stay within the lit, camera-ready area already confirmed on stage.
Use gestures to support meaning, not accompany every word. Review the recording for swaying, repeated pacing, and eyes fixed on the monitor.
Rehearse the entire entrance: reach your starting position, settle, breathe, look up, and deliver the first sentence. Give the final line and exit the same care.
Before each run, take several breaths, hum lightly, and speak the opening at presentation volume. Practice the first and last 60 seconds separately until they sound steady, not mechanical. Once both feel steady, move on to audience questions and final team checks.
4. Conclusion: Confirm Readiness Before the Session
After rehearsal, use the final review to resolve remaining risks and lock the show plan. Before approval, check audience fit, message, timing, slides, delivery, and production cues. Ask the executive to name the audience’s top three priorities, concerns, and outcomes. Then check that the talk supports the intended decision or action.
Prepare for Audience Challenges and the Closing
Prepare 10–20 likely questions, focusing on objections to the data, recommendation, assumptions, or business impact. Pair each question with a short answer and supporting evidence. Practice answers aloud with a coach or colleague rather than memorizing scripts. If information is missing, say so, explain what is known, and assign follow-up. Keep each answer tied to the core message and intended decision or action.
Confirm how the moderator will collect and route questions, give time warnings, and close the queue. Prepare a 20–30-second final statement that returns to the core message and names the next action without introducing new evidence. Then complete the final production sign-off.
Complete the Equipment and Team Check
At sign-off, check that content, delivery, and show control are ready. Verify the approved deck version, scheduled start, hard stop, and exact cue for moving to Q&A or closing remarks. Review cues and handoffs with the moderator and production lead. Make sure everyone has the approved cue sheet, speaker requirements, production contact, and authorized changes.
Record each unresolved issue with one owner, a deadline, and a backup plan. Once critical issues are closed, mark the session Ready or Ready with follow-up. Otherwise, mark it Not ready. Get approval from the presenter and production lead, then distribute the checklist.
FAQs
How far in advance should I start rehearsing?
Start rehearsing once your message and materials are set. Schedule a technical walkthrough 2–3 days before the event and a full dress rehearsal the day before.
Short on time? Prioritize a technical rehearsal 48–72 hours before the event. Then, practice transitions, handoffs, and Q&A points 30–60 minutes before doors open. Use the same equipment, lighting, stage setup, and approved files you’ll use during the event.
What should I prioritize if rehearsal time is limited?
Schedule a technical rehearsal 48 to 72 hours before the event. Test audio, video, and file compatibility with the actual equipment, lighting, and stage setup.
Use the 30 to 60 minutes before doors open to practice high-risk moments: speaker handoffs, segment transitions, and Q&A or voting points. If you're short on time, cut optional content - not these readiness checks.
How can I manage nerves before going onstage?
Prepare thoroughly rather than memorizing every word. Know your message and the technical flow so you can speak with confidence. Before the event, find a quiet place to review your materials and gather your thoughts.
During rehearsal, practice moving with purpose, making eye contact, and responding to technical glitches. Let your dedicated speaker liaison handle logistics and last-minute updates so you can stay focused and calm.
Related Blog Posts



Streamline your workflow, achieve more

Lorem ipsum dolor sit amet, consectetur adipiscing elit. Maecenas ac velit pellentesque, feugiat justo sed, aliquet felis.



Lorem ipsum dolor sit amet, consectetur adipiscing elit. Maecenas ac velit pellentesque, feugiat justo sed, aliquet felis.