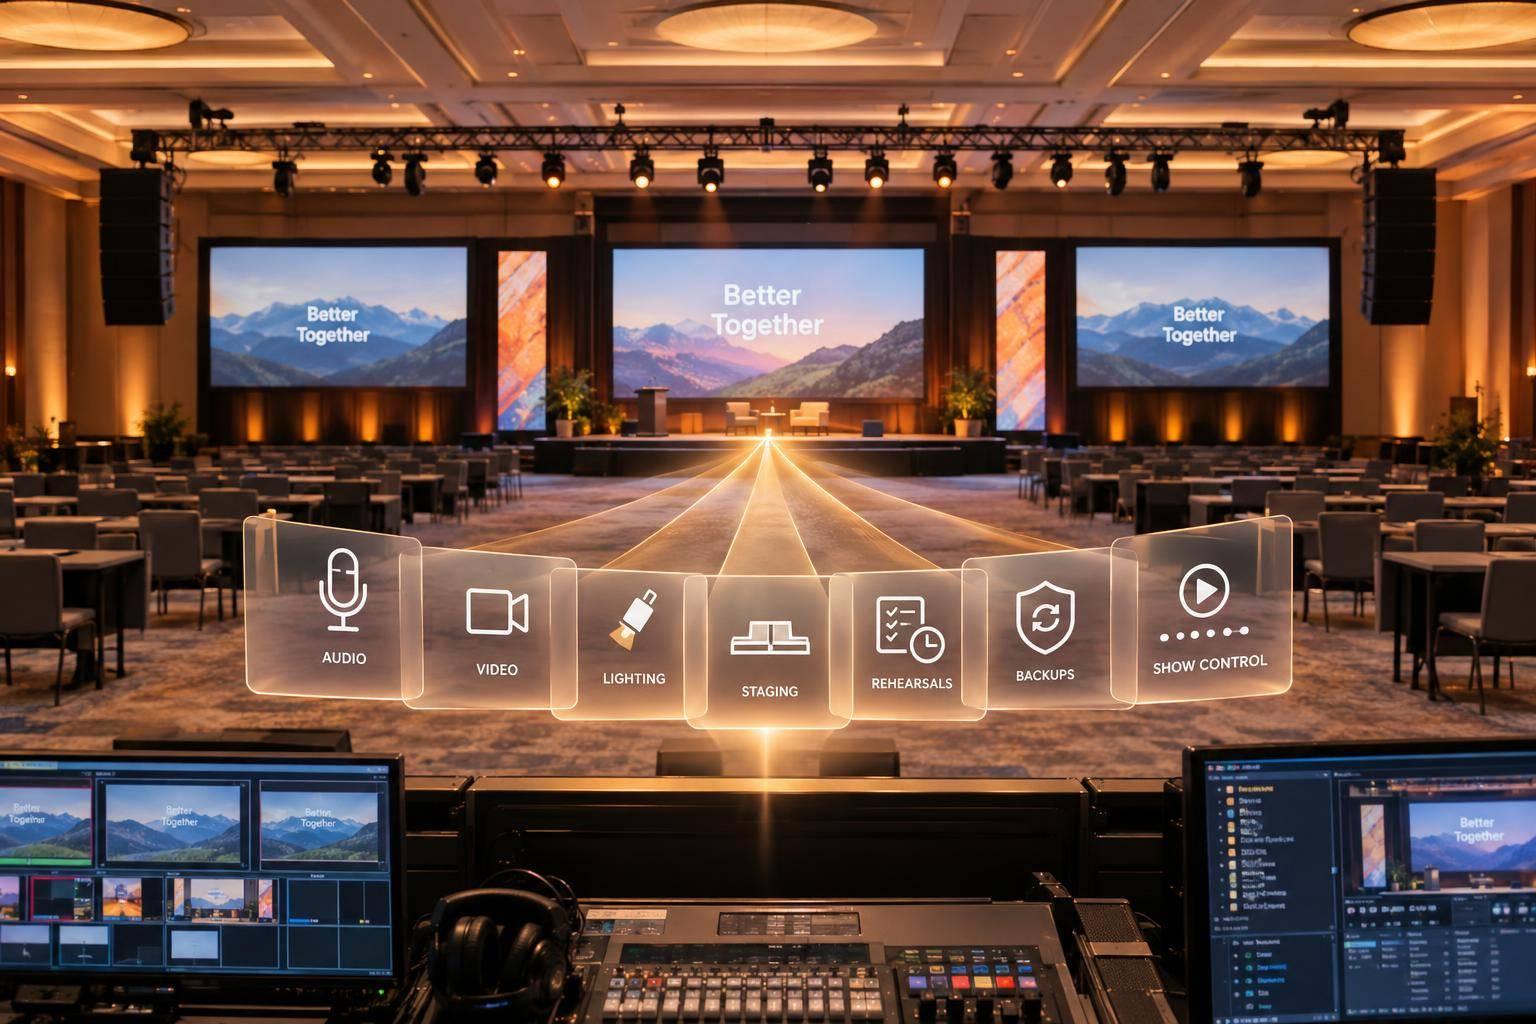
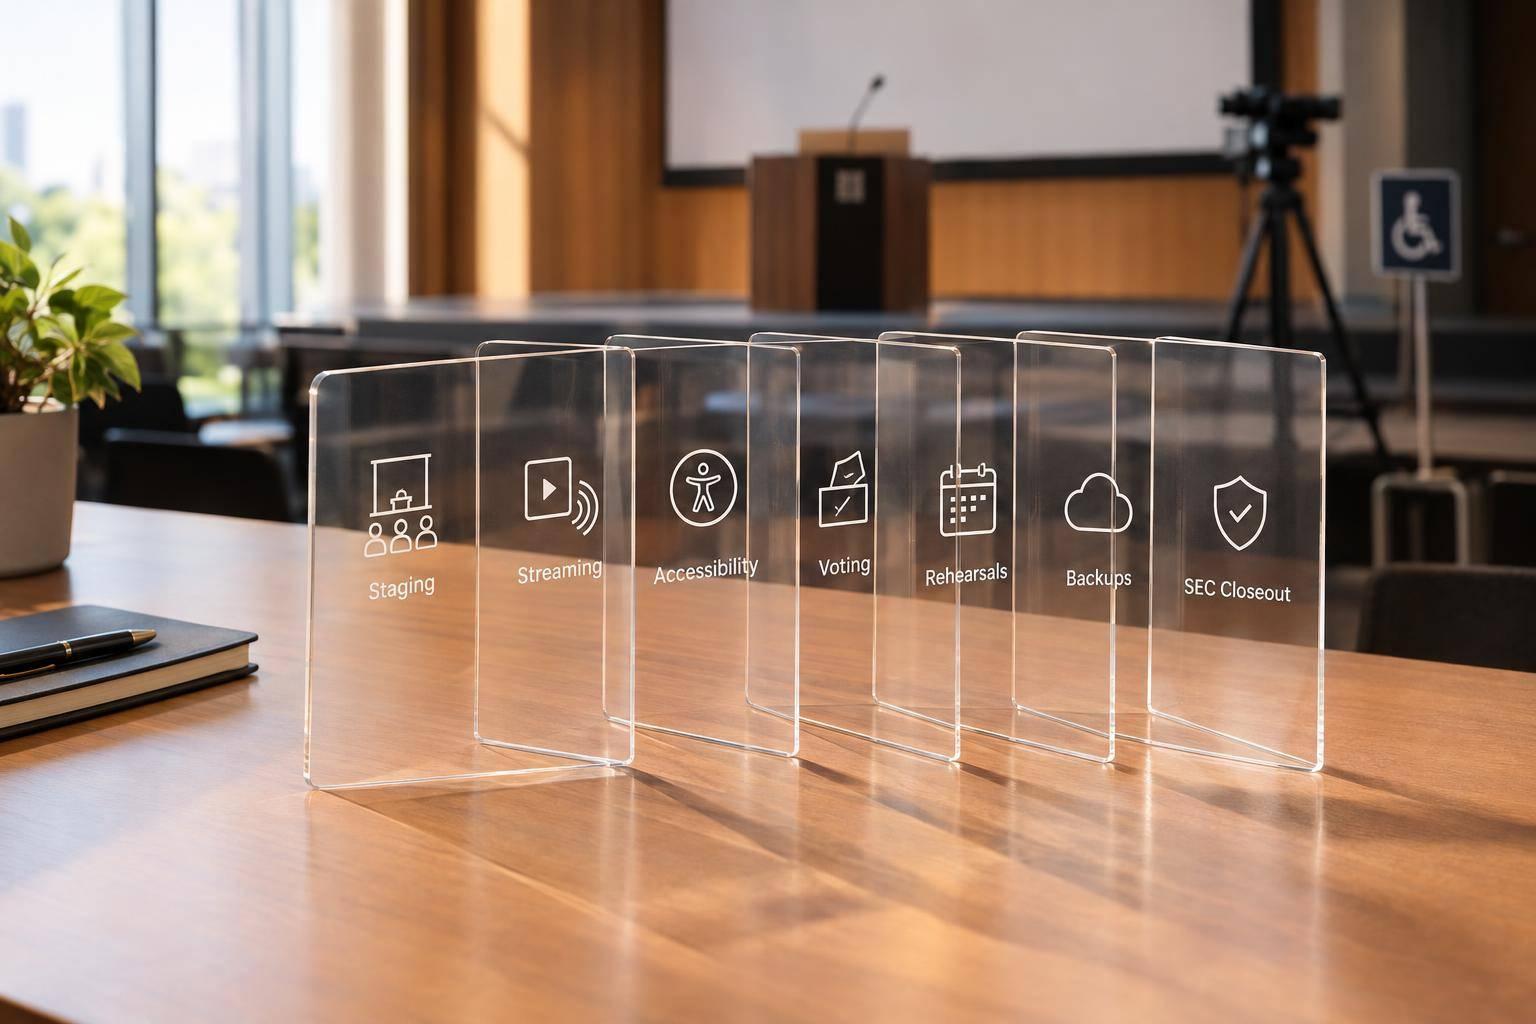
The Ultimate Checklist For Planning And Partnering With An Audiovisual Company For Your Next Conference.

Chief Executive Officer

If I had to boil this article down to one point, it would be this: most conference AV problems start long before show day. A weak sound system, poor internet, missing backups, or fuzzy crew ownership usually trace back to scope, venue checks, and timing.
Here’s the short version of what I’d take from it:
- Start early: about 4–6 months for events with 50–250 attendees and 9–12 months for events with 250+ attendees
- Pick your AV partner by 120 days out
- Lock your budget by 90 days out
- Freeze slides, videos, and playback files 10–14 days before the event
- Check the venue in person: power, rigging, internet, acoustics, load-in, and venue rules
- Compare proposals line by line, not just by total price
- Put audio first, because sound issues are among the top complaints at live events
- Assign named owners for show calling, room leads, speaker support, recordings, and post-event files
- Rehearse on the live system, not on personal laptops
- Build backups for power, network, playback, mics, and streaming
- Close out fast: collect recordings, review invoices, and log what to fix next time
A few numbers stand out. Hotel AV can cost 40% to 80% more than market rates in some cases. The article also notes a simple screen-sizing rule: screen height should be about 1/8 of room depth. And for audio planning, one rule of thumb cited is 1,000 watts per 100 people.
What I like about this piece is its focus: plan first, buy later. It pushes a clear order - goals, budget, venue limits, partner choice, show flow, rehearsal, backups, then debrief. That order is the whole point. If I skip the early steps, I make the later ones harder and more expensive.
If you’re planning a conference in the U.S., this article works as a plain checklist for avoiding missed details, surprise costs, and show-day tech failures.

Conference AV Planning Timeline: Key Milestones & Deadlines
Event Producer Tips: A/V Best Practices for Your Conference Breakout Rooms - Logan Clements
sbb-itb-ae35a94
1. Define Conference Goals, Scope, And Budget Before Contacting AV Vendors
Before you send even one RFP, get clear on your event goals, the attendee experience you want, and the technical support you expect from your AV partner. AV teams can price the job with far more accuracy when they know the event format, room count, audience size, and whether you need recording, live streaming, or hybrid access. Doing this work first saves time and helps keep scope creep in check.
1.1 Confirm Event Format, Audience Size, And Room Requirements
Write down the event format, attendee count, room count, and seating layout for each space.
Then map technical needs room by room. If a keynote speaker plans to walk through the audience, they may need a wireless mic setup that can handle movement without dropouts. If sessions will be recorded, live-streamed, or opened to hybrid attendees, that changes the gear and staffing plan right away.
It also helps to map how attendees will move between sessions. That gives the AV team a clearer picture of mic handoffs, room resets, and how much time they have between transitions.
Share registration updates with your AV partner 90 days before the event so they can adjust equipment recommendations if attendance shifts in a meaningful way.
Those room-by-room details are what make accurate AV proposals possible.
1.2 Set Production Priorities And A Realistic AV Budget
Rank production needs before the budget talk starts. Split the list into must-haves and nice-to-haves, and put audio at the top. Set the AV line item early, and put show-critical production ahead of decorative extras.
Start with the pieces that can make or break the event:
- Audio
- Playback
- Show-critical technical support
Handle scenic upgrades after that.
Set a working production estimate early, then turn it into a firm budget lock 90 days before the event. That budget lock gives your AV partner the green light to secure equipment inventory for your show.
It also helps to assign one clear owner for speaker support, post-event reporting, and any technical deliverables. Without that, small requests can bounce around and slow everything down.
Once priorities are set, use them to shape the vendor brief and budget caps. This preparation is essential for effective AV vendor contract negotiation later in the process.
1.3 Build A Planning Timeline With Decision Milestones
A clear timeline keeps people on track and gives your AV partner enough lead time to plan well. The table below works as a starting point. Adjust the dates to fit your event calendar, but keep each milestone tied to vendor selection, room readiness, or content handoff.
| Milestone | Target Date | Key Task |
|---|---|---|
| Internal scope approval | 12 months out | Set initial budget and draft event goals |
| Venue confirmed | 9 months out | Lock the physical space before requesting AV quotes |
| RFP released to 3–5 vendors | 7–8 months out | Send RFPs; set a 1–2 week response deadline |
| AV partner selected | 6 months out | Review proposals and book AV partner |
| Venue technical walkthrough | 120 days out | Test bandwidth, take room measurements, and identify power or rigging constraints |
| Budget lock | 90 days out | Approve deposits and confirm final equipment holds |
| Draft run-of-show shared | 30 days out | Finalize the run-of-show and walk through with AV team |
| Content freeze | 10–14 days out | Collect final slide decks, videos, and playback versions from all presenters |
| Full technical rehearsal | 1 day out | Hold full technical rehearsal in the event space |
Use U.S. date format on shared documents, such as October 15, 2026, to avoid mix-ups with speakers or vendors from other countries. And treat the content freeze like a hard stop, not a soft suggestion.
Once scope, budget, and milestones are in place, the next move is to check venue conditions and compare vendor proposals line by line.
2. Check Venue Conditions And Select The Right AV Partner
With your scope, budget, and timeline set, the next step is simple: look at the actual space and choose the AV partner who can work in it. The room shapes what you can pull off, how much it will cost, and how much crew you'll need.
2.1 Verify Venue Power, Rigging, Internet, And Access Constraints
Use the venue walkthrough to see if your production plan fits the room. The venue type sets the ceiling for your AV setup, budget, and staffing.
Before the walkthrough, ask for the venue's official technical specs document. Then check these items on-site:
| Venue Condition | What to Check |
|---|---|
| Power | Dedicated circuits for AV; stage-side outlet count |
| Rigging | Location of points; weight ratings (2,000+ lbs) |
| Internet | Minimum 100Mbps dedicated event bandwidth; backup lines |
| Load-in Access | Loading dock clearance; freight elevator dimensions; load-in window |
| Acoustics | Speech intelligibility; coverage zones; dead spots |
| House Rules | Exclusive labor rules; outside-vendor fees |
Hotels often subcontract AV to third parties, and rates can be marked up by 40% to 80% above normal market pricing. That's a big jump, so ask about exclusive vendor rules before you sign anything.
Conference centers usually make AV easier than hotel ballrooms. They often have better ceiling height, rigging options, and load-in access.
If projection is part of the plan, confirm that the room has engineered blackout systems, not just curtains added later. And don't just take the venue's word on internet speed - test the bandwidth yourself during the site visit.
2.2 Issue A Clear AV Brief And Compare Proposals Line By Line
Once you've checked the room, compare proposals against the same set of facts. A vague brief leads to vague proposals.
Your AV brief should spell out room-by-room technical needs, the content plan, the schedule with transition time built in, and staffing expectations. Set one question deadline one week after the RFP so every vendor gets the same answers.
When proposals arrive, don't stop at the total price. A solid proposal should show a complete system design, not just a shopping list. As SoundPro puts it: "A parts list is not a system. Anyone can assemble a list of products that look right on paper. What separates a system that performs flawlessly... is the expertise behind the spec."
Use the same lens for every proposal:
| Evaluation Category | What to Look For | Red Flags |
|---|---|---|
| System Design | Integrated signal flow (Dante/NDI); matched coverage patterns | Mixed brands without compatible signal flow; missing converters or cables |
| Equipment List | Specific models (e.g., QSC K12.2, Yamaha TF5); backup units listed | Generic terms like "Large Speakers" or "Projector" |
| Staffing Roles | Dedicated FOH operator, lighting designer, stage manager | "General Tech" covering multiple specialized roles |
| Venue Familiarity | References to specific rigging points, power needs, dock timing | No mention of venue-specific constraints |
| Contingency | UPS backups, spare mics, redundant internet lines | No backup hardware or power failover plan |
| Change-Order Process | Clear pricing for last-minute additions or overtime | Vague "additional fees may apply" language |
Also make sure screen size and projector brightness fit the room and the farthest sightline.
2.3 Confirm Scope, Staffing, And Deliverable Ownership
After you choose your AV partner, put every responsibility in writing before deeper production planning starts. When ownership is fuzzy, tasks get missed and show week gets messy.
Confirm named owners for the Account Manager, Technical Director, show calling, and each room lead. The contract should name the single point of contact and the on-site Technical Director. Use actual names, not just job titles.
You should also state that the client owns raw recordings, edited files, and attendee data collected during the event. Spell out how analytics will be stored and handed off.
Once the partner, scope, and venue limits are set, you can move into stage layout, system design, and show control.
3. Finalize Staging, Sound, Lighting, Video, And Show Control
Once the scope, budget, and venue limits are set, it’s time to map out the physical production plan: the stage, the gear, and how the show will run in the room.
3.1 Approve Stage Layout, Scenic Elements, And Presenter Sightlines
Stage layout affects two things fast: what people can see and what they can hear. A simple rule helps with screen sizing: screen height should be at least 1/8 of room depth. So, if the room is 80 feet deep, the screen should be 10 feet high.
Before anything gets built, confirm the full layout:
- Stage dimensions
- Lectern placement
- Panel seating
- Confidence monitor position
- Scenic elements
This is also the time to double-check branding on stage. A nice scenic piece can still cause problems if it blocks sightlines or cuts into screen visibility. The lectern needs a clean view from the front row too. If someone in the first few seats can’t see the presenter or the screen clearly, that issue tends to ripple through the whole room.
3.2 Confirm Audio, Video, And Lighting Equipment By Room
Equipment should fit the room. Not the other way around. Use this baseline:
| Venue Scale | Audio | Video | Lighting |
|---|---|---|---|
| Under 200 attendees | Powered speakers + sub, 4–8 wireless channels | Single display or short-throw projector | LED PAR wash, simple moving heads |
| 200–1,000 attendees | Line array, 32–48 channel console, IEM systems | LED wall, multi-camera IMAG, switcher | Full moving head rig, followspots, truss |
| 1,000+ attendees | Full line array with delay towers, 64-channel console | Large-format LED walls, fiber infrastructure | Touring rig, multiple followspots, grandMA console |
Source:
For video, the LED wall vs. projector call mostly comes down to ambient light. LED walls hold up well in bright rooms and give you more shape options. Projectors make more sense in controlled-light spaces, like breakout rooms.
If you’re using LED, pixel pitch matters more than people think. P2–P3 works best when the audience is close to the screen. P6–P8 is a better fit when viewing distance is more than 30 feet.
Audio needs the same level of care. Size the PA for the room because weak sound is one of the top complaints at live events. A common rule of thumb is about 1,000 watts of amplifier power for every 100 people. Also confirm mic types session by session - lapel, headset, or handheld - and make sure backup units are physically staged in each room. Not stored down the hall. In the room.
Lighting should go past a basic stage wash. Moving heads give you options as session formats change. A followspot becomes a must if presenters move across the stage. Lock cue-based looks for general sessions, panels, and walk-on moments. And before the lighting plot is final, check venue rules on atmospheric effects like haze.
Once the room setup is defined, follow conference event production best practices to ensure the show runs cleanly.
3.3 Lock The Run Of Show, Cueing Process, And Crew Communications
After the gear is approved, the main risk shifts from setup to execution.
Finalize the Run of Show with every cue, every transition, and a named owner for each one. Test all final media on the actual show hardware before lock. Untested setups cause most technical failures.
The show caller is the person keeping the train on the tracks in real time. They cue audio, video, and lighting transitions off the Run of Show. Post the show caller’s name, contact method, and escalation path at every control position so nobody is guessing when changes come in during the show.
For hybrid events, assign a Hybrid Lead to handle streaming, remote speakers, and digital engagement tools. Put timing-change approval and failover authority in writing.
4. Rehearse, Execute On Site, And Prepare For Failures Before They Happen
Once the run of show is locked, rehearsal becomes your last clean shot at catching problems before the audience sees them. Use your AV partner’s crew time to test every presenter asset in the exact room setup you’ll use live.
4.1 Run Technical Rehearsals And Test Every Presentation Asset
Use the pre-event rehearsal block to check every system in the live room. Start with crew-only time so the team can work through lighting, connectivity, and signal problems before any speaker steps on stage. When the room is ready, bring speakers in for dedicated stage time and confirm that each technical piece works with them in place.
"A technical rehearsal the day before the event starts... allows the crew to fix issues with lighting or connectivity before the speakers arrive." - Rent For Event
The table below covers the main checks to run during rehearsal:
| Rehearsal Category | What To Check | How To Verify |
|---|---|---|
| Audio | Mic gain, feedback, battery levels | Walk the stage with live mics to find feedback points |
| Video | Aspect ratio, scaling, embedded media | Confirm slides fill the screen without stretching or black bars |
| Lighting | Presenter wash, cue transitions | Ensure speakers are lit for video without being blinded |
| Timing | Transition buffers, speaker handoffs | Practice each handoff between speakers and video playback |
| Backup | Backup systems | Test switching to a backup laptop or internet line mid-stream |
Test final files during the freeze window on the actual show laptop and live playback system. That means every deck, video, and graphic should run on the show system, not on someone’s personal machine. Most avoidable technical failures happen when teams skip this step.
Once the gear is locked in, turn to the people plan.
4.2 Confirm On-Site Crew Roles, Call Times, And Support Coverage
Every crew member needs a clear role and a confirmed call time before load-in day, which you can track using a corporate event checklist. A standard rehearsal should include the Production Manager, Stage Manager, Show Caller, Audio Engineer, Video Engineer, and Graphics Operator. Add room-specific specialists if the format calls for them.
Clear ownership cuts down on missed cues, slow handoffs, and two people doing the same job. Post the crew roster, call times, and escalation contacts at each control position. Assign one person to own each room. That person handles local technical issues and manages speaker transitions without waiting on someone across the building to weigh in.
Run a morning briefing with all teams each day to confirm the schedule, review escalation paths, and flag any overnight changes to the run of show. Also test radios, headsets, or group chat during rehearsal so the show caller can reach every position live.
After roles are clear, put the failover plan in writing.
4.3 Build Backup Plans For Power, Network, Playback, And Presenter Issues
The same choices that shape the show also create its weak spots. Rehearsal helps you find them. Contingency planning helps you cover them.
Build an emergency kit for every presentation area with spare laptops, adapters, and duplicate media files on USB drives. Save final decks in at least three places - cloud, local drive, and USB - so one corrupted file doesn’t stop a session.
| Failure Type | Primary Backup Strategy |
|---|---|
| Power Loss | UPS protection for show control systems; backup generators confirmed with venue |
| Internet Failure | Secondary ISP or hardline |
| File Corruption | Offline copies on USB drives; assets tested during content freeze |
| Audio Failure | Spare handhelds and lavaliers physically staged in each room - not stored elsewhere |
| Stream Drop | Secondary encoder running in parallel; local ISO recording as a safety net |
Presenter issues need their own plan too. If someone arrives late, swaps decks at the last minute, or doesn’t show, the team should already know what happens next. Put a decision tree in writing before the event: swap session order, run a recorded segment, or hold the room. Also document who can approve timing changes and technical failover calls, then assign that authority in writing before doors open. Every crew lead should know that name before the event starts.
5. Close Out The Event With Deliverables, Budget Review, And Lessons Learned
After load-out, move straight into file handoff, budget reconciliation, and debrief while everything is still fresh in people's minds—a key step to run events like a business.
5.1 Collect Recordings, Reports, And Organized Media Files
Once the show wraps, the event record becomes the next priority.
Before the AV crew leaves the venue, confirm that every deliverable is in place. That includes session recordings, highlight reels, still photos, final slide decks, and labeled media folders in the agreed file formats.
You should also collect the final Run of Show, cue sheets, stage plots, channel lists, light plots, and any reusable console scenes or cues.
Set a firm deadline for file delivery and get it confirmed in writing before final vendor sign-off.
5.2 Review Performance, Analytics, And Final Costs
Ask for attendance, engagement, and stream reports right after the event. Then compare those numbers with your original projections to check whether the AV scope lined up with actual turnout.
Next, compare the final invoice with the budget lock and the onsite issue log. Change orders and added equipment should tie back to a documented request. If a line item doesn't connect to an approved decision, flag it before sign-off. Also check labor hours against the staffing schedule and confirmed call times so you can catch overtime that wasn't approved in advance.
| Review Category | What to Cross-Reference |
|---|---|
| Labor Overages | Staffing schedule and confirmed call times |
| Equipment Additions | Onsite issue tracking and resolution log |
| Scope Changes | 90-day budget lock |
| Media Handling | Content freeze deadline |
Use what you find here to guide the debrief and update your checklist.
5.3 Document What To Repeat And What To Fix Next Time
Use the incident log and crew notes from show day to run a focused debrief.
Talk through recurring room issues, escalation speed, remote-audience quality, and the fixes worth carrying into the next event.
Just as important, write down what worked. That could be crew roles, comms setups, or how well the content freeze was enforced. Add those standards to your master checklist before the details start to fade. When something went wrong, note the root cause, not just the symptom.
"Documented crisis procedures are the difference between a resolved incident and a viral complaint." - CTI Meeting Technology
Store the debrief with the event record so the next planning cycle starts with facts. Document what to repeat, what to fix, and who owns each update.
FAQs
How do I know if my AV budget is realistic?
Move from an estimate to a locked budget by the 90-day mark. Start with a clear needs assessment tied to the exact items you’ll need, such as microphones, staging, and projection.
Then ask for a detailed line-item breakdown. That should include power, rigging, internet, and overtime, not just the headline production price. As a general range, costs can run from $25,000 for basic sessions to $350,000+ for complex, arena-level productions. And before you sign anything, verify venue fees.
What should I ask during the venue walkthrough?
Focus on technical and logistical limits early so nothing blindsides you later. Confirm the load-in plan, including service entrance access, freight elevator size, and weight limits.
Then check the room itself: rigging points, power distribution, ceiling height, acoustics, HVAC controls, and window blackout options. And don’t stop at the sales team. Ask the operations manager or AV lead to confirm that those details line up with what your event needs.
Who should own AV decisions on event day?
Define decision-making roles during planning so there’s no confusion on event day. Put one incident commander in charge of on-site emergencies, like a producer or project manager from your audiovisual partner.
During rehearsals, lock down who can approve timing changes, manage the final presentation files, talk with speakers, and make the call if a segment runs long. Use a central command desk and keep the schedule in one source of truth.
Related Blog Posts


Streamline your workflow, achieve more

Lorem ipsum dolor sit amet, consectetur adipiscing elit. Maecenas ac velit pellentesque, feugiat justo sed, aliquet felis.



Lorem ipsum dolor sit amet, consectetur adipiscing elit. Maecenas ac velit pellentesque, feugiat justo sed, aliquet felis.